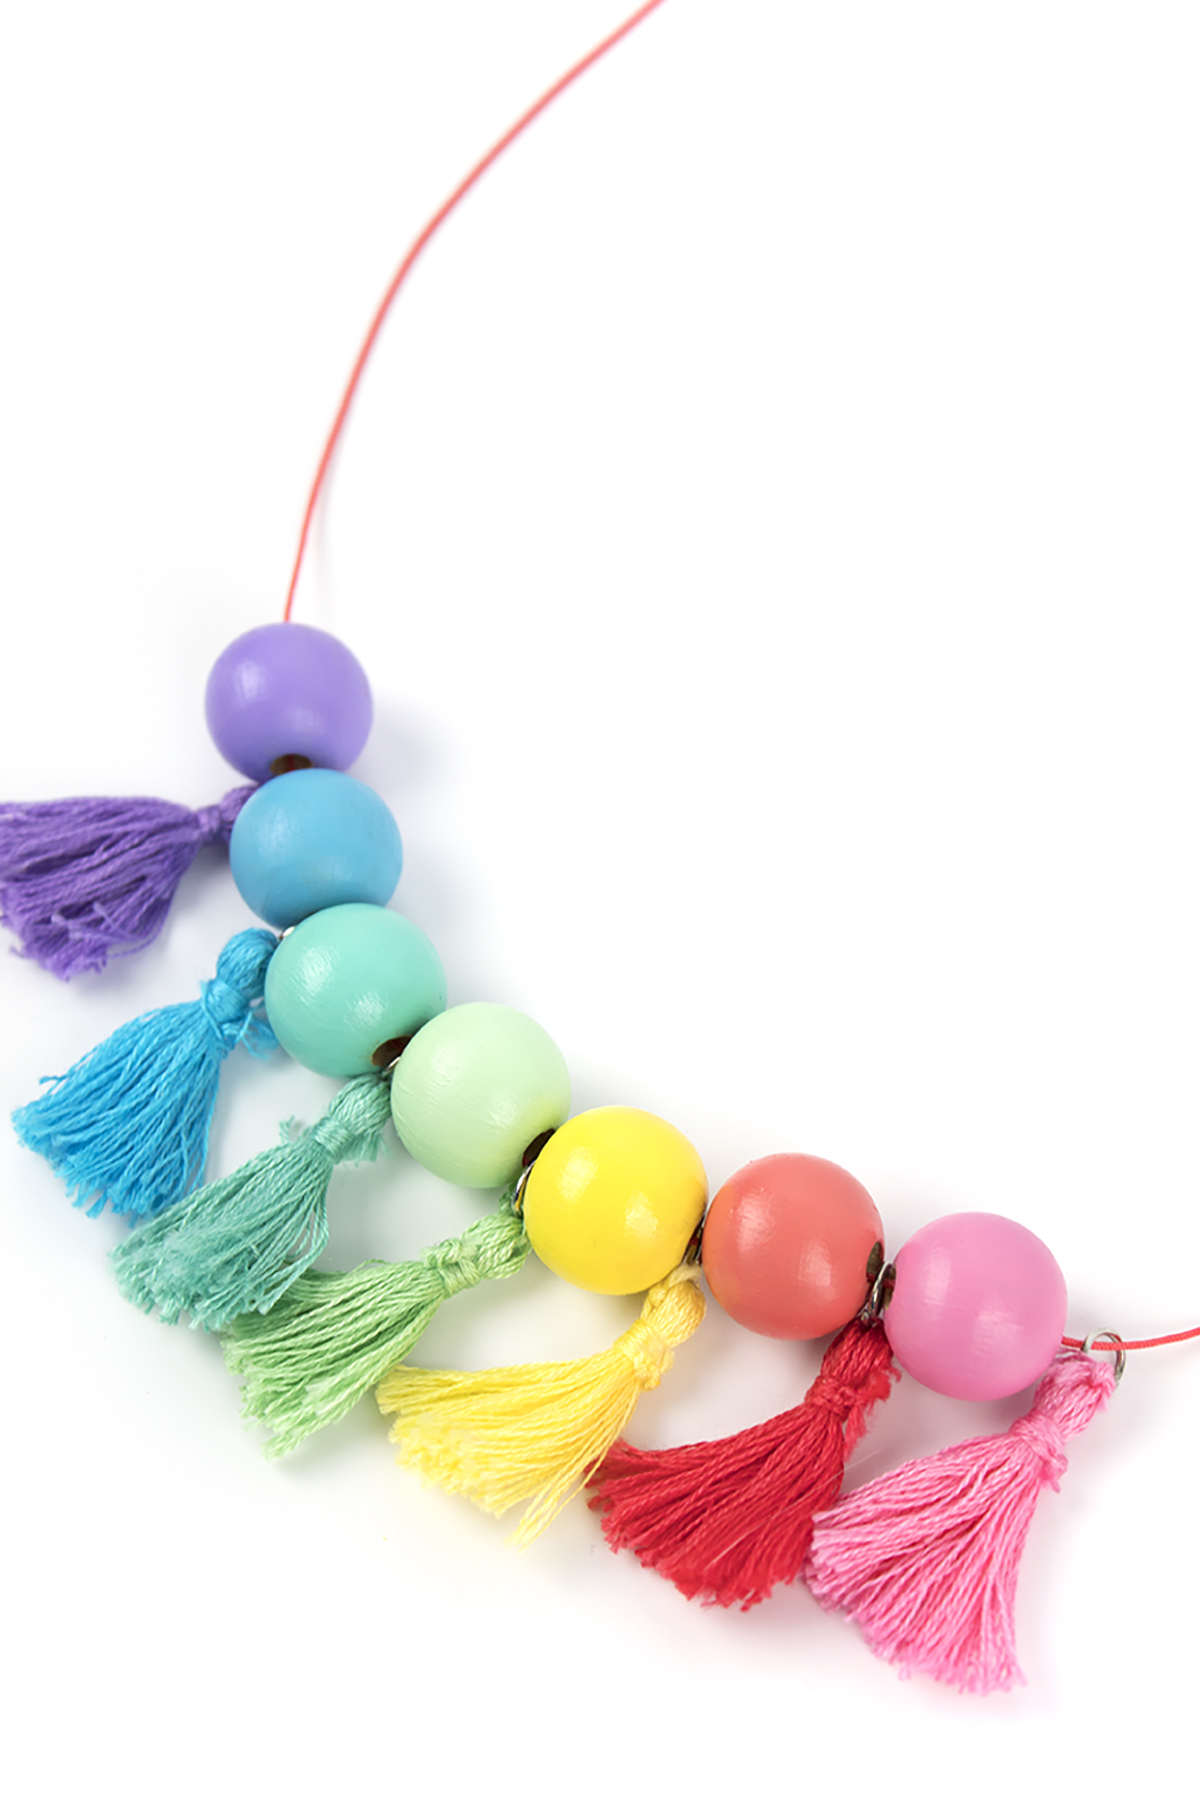
Happy International Women's Day!

Happy (day after) International Women’s Day! Today I wanted to spend some time highlighting some of my fave female business owners! There are so so soooo many amazing women out there doing a variety of things, but I wanted to highlight my fave small business/shop owners! These ladies make and curate some amazing content and I felt it was only fair to give them a shout out on this holiday. So, get that credit card ready- you’re gonna want to support these ladies!!

Happy International Women's Day! Today on the blog I'm sharing my favorite colorful shops- all owned by some amazing ladies! Click to see the full list.

1. Ottoman 2. Pillow 3. Sunglasses 4. Clutch 5. Unicorn Pin 6. Necklace

6a00d8341c6a0853ef01b7c94821b2970b-800wi.png

Joy/ OhJoy!- I’ve loved Joy’s items from the very first time I saw them at Target. I’ve probably wanted every single piece! She’s now also got an awesome shop chock full of goodies, a furniture line, luggage (!!) as well as a Cheeky collection at Target! 

Veronica/Sharptooth Snail -Veronica is a personal friend of mine that I met online through a class I took! Aside from being the most amazingly helpful person, she’s got an awesome geeky-cool shop filled with pins, resin figurines, and T-shirts. Oh, and did you know her work was used by NASA?!? Pretty freakin amazing! 

Kelly/Studio DIY- Kelly’s shop is filled with all kids of colorful, happy items! There’s so much to choose from, but my favorite has to be her Can’t Clutch This subscription! As a kid, I never had enough money for monthly subscription boxes, so this totally makes my day every time it arrives! 

Confetti_Pillow_-_High_Res_1080x.jpg

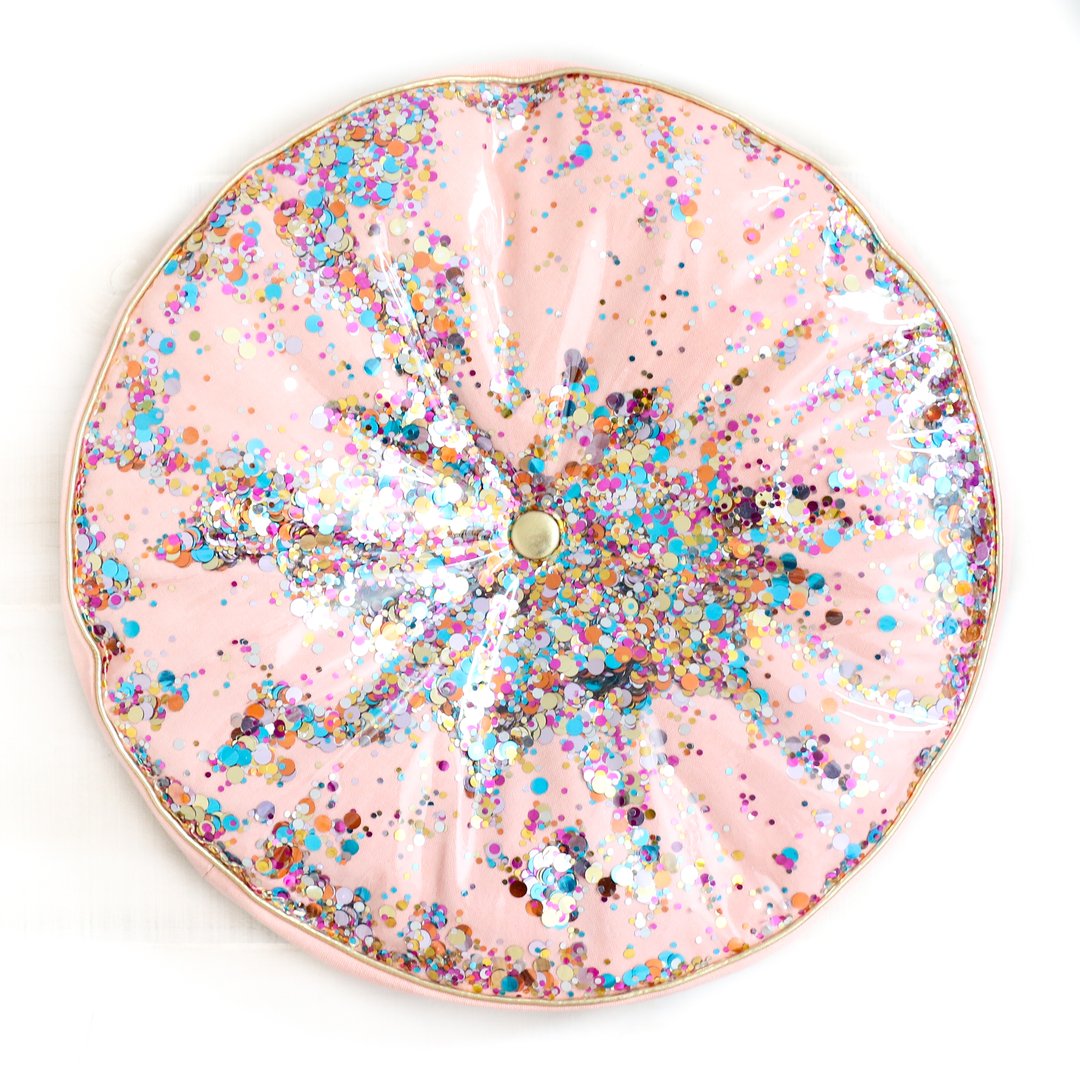
Kara/Kailo Chic -Kara had got to be one of the busiest little bees I’ve ever seen! She’s always releasing new blog content, along with both handmade and designed items. I love everything she does, and I’m personally in awe of how she gets it all done so quickly! If you’re into confetti housewares and colorful throw pillows (who isn’t...?) you’ve got to visit her shop!

Ashley/Sugar & Cloth- Aside from her cutest creation, little baby Gwen, Ashley launched a gorgeous collection with Amazon!! If that’s not goals, I’m not sure what is! Some of her items sold out immediately and I’m not surprised- they’re gorgeous! 

Caren/Caren Kinne Artwork- Caren’s abstract, colorful paintings are the perfect addition to any space that needs a little excitement! Her fun figures are often based on real people, and to me they’re reminiscent of the Little Miss Sunshine- type books from when I was a kid. If artwork isn’t your think (who are you?!) Caren also offers her paintings on tote bags, etc. 

il_570xN.1195028342_62h0.jpg

Jenni & Leah/Love & Lion- Taking temporary tattoos to. Whole new (adult) level! I love all their amazing designs and they even do custom tattoos too!  

Natalie/Cultivate Love LA- Natalie’s Smart and Pretty Club obliterated the idea that a woman has to be either/or. Her shop is filled with books and it’s only growing! Stop by to grab your next read or my personal fave, this pin! 

Marisa/The Neon Tea Party- I met this sweet little lady at a NYC meetup with Jeff and Kelly of StudioDIY. I actually thought she was someone else but my opening line to her was “do you make jewelry?!” Interestingly enough, she did! I really love her fun Pom Pom arts but if you’re itching to learn, she teaches classes in NYC too! 

lip-gloss-poms.jpg

Emma & Elsie/ABM & Oui Fresh- ok, what don’t these girls do? They’ve got their Oui Fresh Shop, happy mail, natural makeup and essential oils line, cookbooks, an app!! 

Mary/Uncustomary Love- despite the fact that she’s a child of the rainbow, Mary spouts positivity in all the best ways! From a stuffed animal slumber party to sending snail mail, her  shop is full of quirky and amazing things you can’t find anywhere else. One of her best offerings has to be her body positivity course! In a world where we are taught to hate our bodies, it’s so important to give it some love. 

Amber/Dixie and Twine- from banners with all the trendiest sayings to adorable confetti, Amber’s ship has everything you need to make your party hip! Plus, you gotta love her amazing product photography!

FullSizeRender-6.jpg

Abbey/Daily Disco- If ever there was something that seemed like a fun hobby-turned-career, this is it! Abbey’s chainstitch embroidery is colorful, cool, and coveted! She does amazing custom jackets for brides, moms, kids... it’s adorable! She also sells patches that you can add to any item you want. 

Jess/The Knit Knack Shop- my husband has known Jess’ husband since elementary school, so I have the pleasure of knowing her in person! She’s a teacher by day, crochet-er by night. My favorite things from her shop have to be her little cactus plants! I kill every plant I get, so having something that can’t die seems perfect! She’s also a huge Harry Potter fan and makes all sorts of adorable amigurumi animals, characters and monsters. 

Cathy/PartyHarDIY- Yep, that's me! I opened my shop in December 2017 and it's filled with colorful statement jewelry and fun keychains! And, I have big plans to expand it this year. You can save 17% off with the code MARCH17 until St. Paddy's Day!

There you have it! Some of my very favorite shops from my fave biz babes out there on the interwebs. Who are your favorite female-owned businesses? Let me know in the comments below!

DIY Painted Notebook

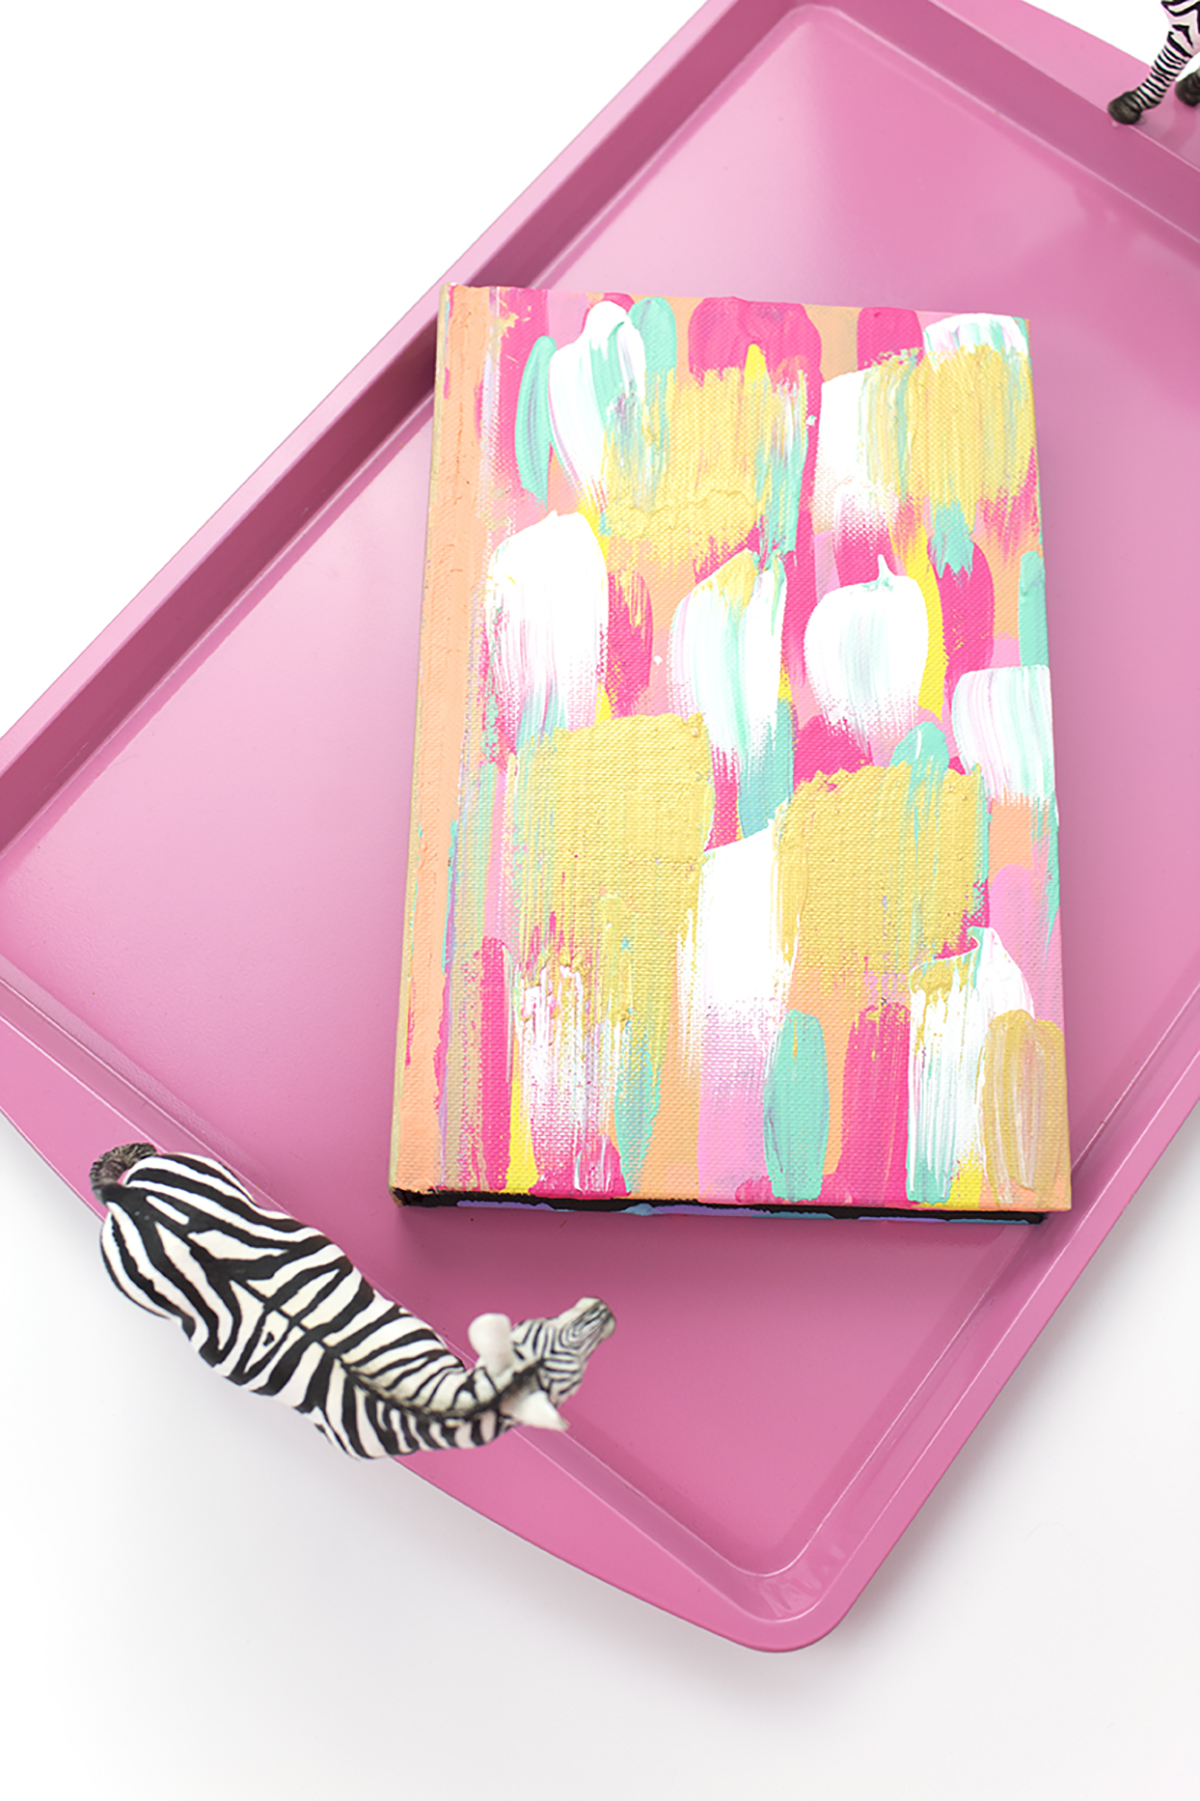
This weekend I went to Michael’s to grab a few items for upcoming projects, and I had a sketch book on my list. I realized that I didn’t really have anywhere that I could keep all my project ideas together, so I usually scribbled on a sheet of white paper that ended up who-knows-where when it came time to actually create the project. One of my New Year’s Resolutions is to be more organized, so I knew I had to take care of this! However, when I went to Michael’s I didn’t love the selection of sketchbooks available. I grabbed this one because it was the most affordable at $5, and figured if it couldn’t be cute, at least it was cheap. WELL… while creating another paint project, I realized that this notebook (with its canvas-like surface!) was wishing for a new look. Lo and behold- here it is! I love this sketchbook now, and I can’t wait to use it for my project sketches, room upgrades, and any ideas that pop into my head! Best of all, it’s so easy and cheap to make with products you probably have on hand!

Give your ho-hum notebook a new look with just a coat of paint! Add a metallic accent and you're golden! Click for the DIY.


You will need:

Notebook (from Michael’s, or here)
Paints (similar here)
Metallic gold paint (here)
Brushes (similar here)
Newspaper or similar to cover workspace

Give your ho-hum notebook a new look with just a coat of paint! Add a metallic accent and you're golden! Click for the DIY.


  1. Open your notebook to the center and place it pages-down on your workspace. Paint on thick strips with your first paint color. I wanted to do a rainbow palette, so I decided to do half the rainbow on one side, and the other half of the colors on the other side.
  2. Paint your whole notebook cover as much as you can, and let dry just a little. I thought it looked kinda mehhh without a pop of color, so I went back and took 1 color from each side to add a jolt to each side. 
  3. Using your white paint, add some thick stripes to your notebook cover. I found that the white ended up with a cool rainbow effect, so I used it to paint the spine.
  4. Add your pop of gold to the notebook and spine if you’d like. Let dry fully, then go back and do any necessary touch-up.

You can spray it with a finishing spray to seal it, or just be careful with it. You can also get a small pouch for it so it doesn’t chip paint everywhere.

Give your ho-hum notebook a new look with just a coat of paint! Add a metallic accent and you're golden! Click for the DIY.

Related: DIY No Sew Embellished T-Shirt

I'm really loving this sketchbook now! It's so cheery and fancy. It really encourages me to create more, and I love taking a sketch break to think up new ideas, spruce up a room, or just brainstorm! How will you use your notebook? Let me know in the comments below! 

DIY Polly Pocket Iron-On Tee

Ah, Polly Pocket. The choking hazards of our childhood. Something about the amazing little world they could create in such a small space was seriously enticing as a kid. I was more into Barbies, but I did have one Polly Pocket toy that I loved- Vintage Polly Pocket Waterpark Fun which had an awesome pull-out slide! I don’t know how much I really played with the Polly Pocket, but I know I did often open up the case and stare at its interior. Usually Polly was a “Barbie” for my Barbies, but that case had its own special place in my heart. 

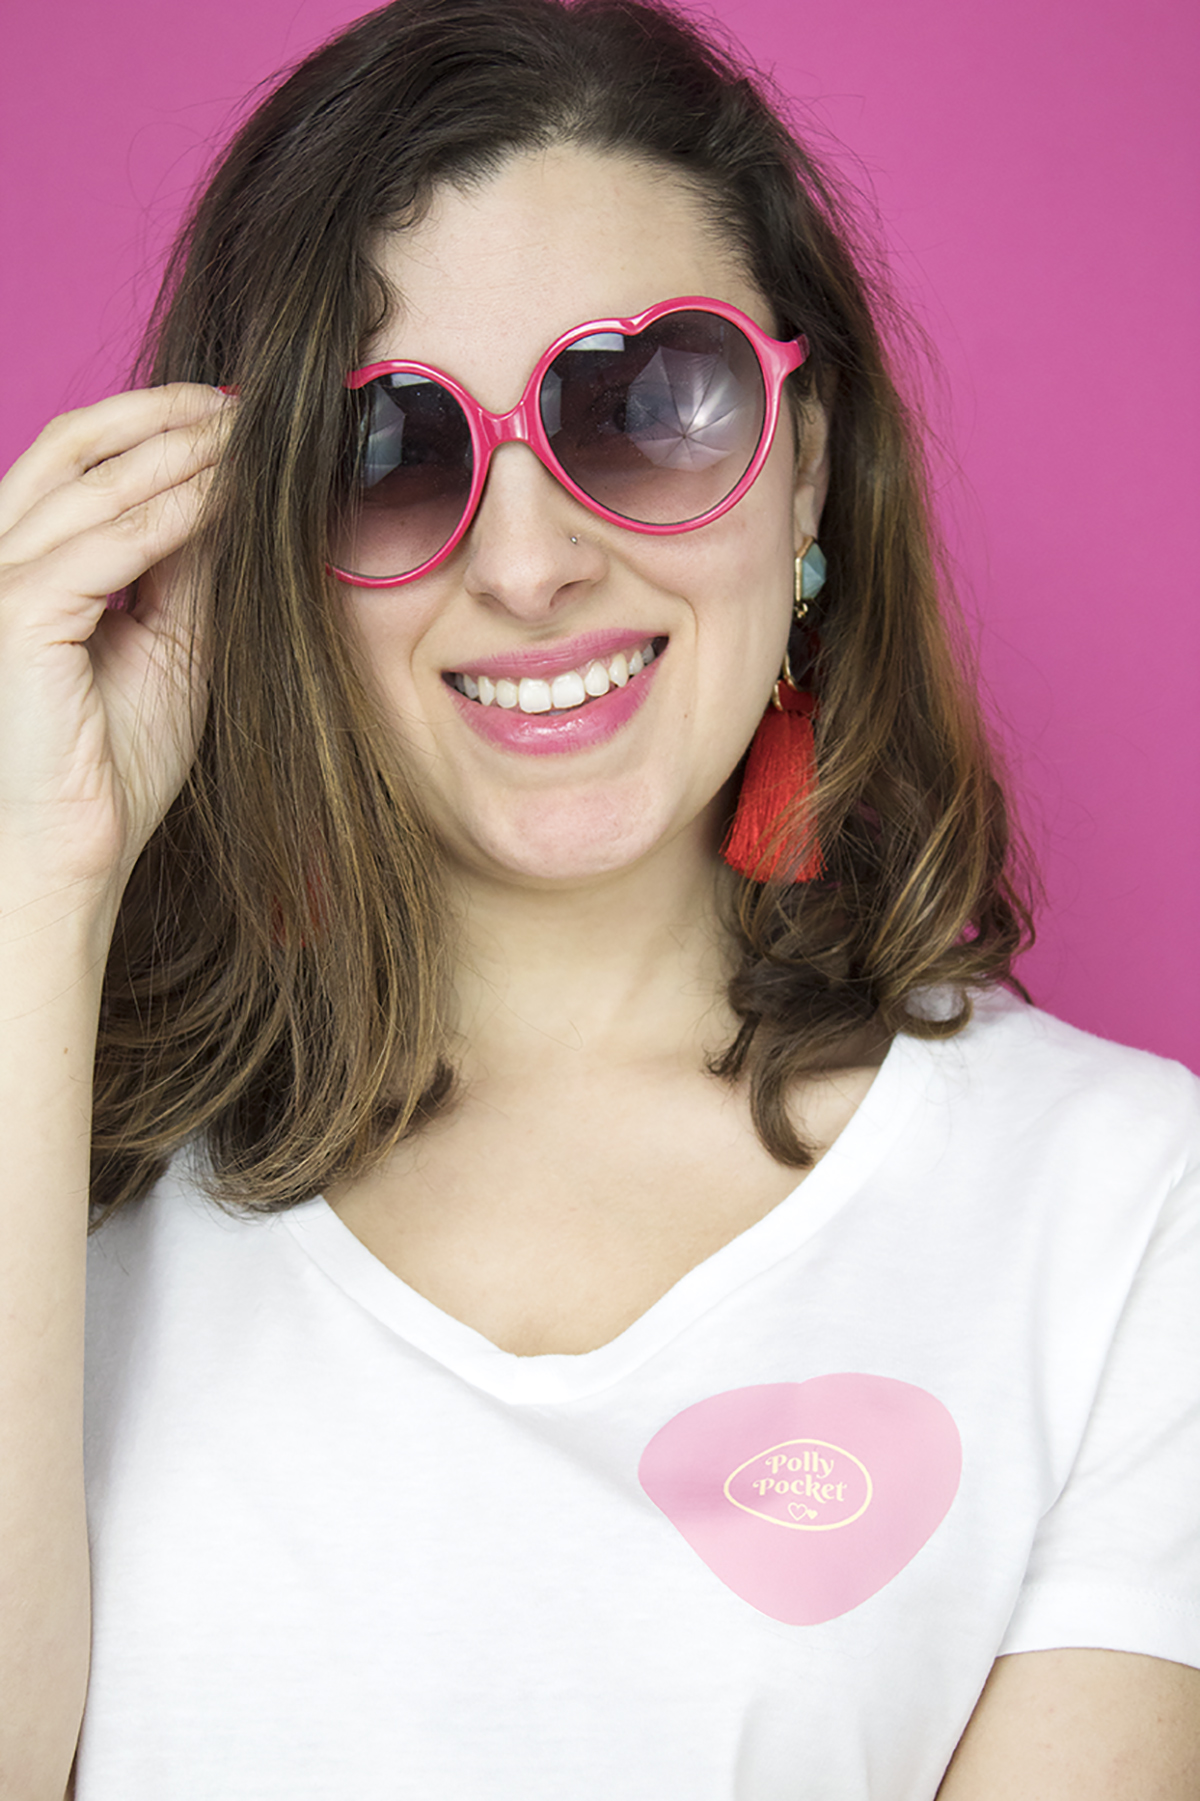
To commemorate my love for Polly Pockets, I made these super cute printable iron-ons that you can put on pretty much anything you desire! Get your printer out and your iron ready- we’re making some tees!

To commemorate my love for Polly Pockets, inside and out, I made these super cute printable iron-ons that you can put on pretty much anything you desire! We’ve got 2 sizes (kid and adult) and 2 orientations (backwards and forwards) so that it works for everyone! I picked some of my favorite shapes including my turquoise flower, a heart (perfect for Valentines Day and Galentine’s Day!), a sea shell, a star, and a regular 'ole square that looks somewhat like an ordinary pocket. Get your printer out and your iron ready- we’re making some tees!

To commemorate my love for Polly Pockets, I made these super cute printable iron-ons that you can put on pretty much anything you desire! Get your printer out and your iron ready- we’re making some tees!

You will need:

Tees (here, here, here)
Sweatshirts (here, here)
Iron-on for dark fabrics (here)
Scissors (here)
Fabric marker with disappearing ink (here)
Iron
Parchment paper
Fun earrings to wear them with! (here)
Free printable (see below)

The printable is available in my resource library, which you can get totally FREE access to, just by signing up. What exactly do you get? Access to all my printables, including party planning guides, checklists, and my projects. By signing up, you'll have access to all projects- past, present and future! 


Directions

To commemorate my love for Polly Pockets, I made these super cute printable iron-ons that you can put on pretty much anything you desire! Get your printer out and your iron ready- we’re making some tees!
  1. Print out your Polly Pockets according to the instructions on your iron-on paper. I used the one for dark fabrics, and it worked perfectly on my white shirts too. It required printing the design the normal way. Often, light colored fabric iron-ons require it to be backwards. Just be sure to follow the instructions on your papers!

  2. Cut out each design, then trim off all the extra. The paper is white, so anything left over will show! I stayed as close to the edge as possible.

  3. Try on your shirt, and mark where you want your Polly Pocket to go. Remember that when you look in the mirror, everything is backwards ;)

  4. Put your shirt on a flat surface. Remove any hairs with a lint roller, and iron your shirt to be free of wrinkles.

  5. Peel the back off your Polly Pocket decal, and place it in the spot that you want. Cover with parchment paper

  6. Iron according to the instructions on your package. Mine said to iron for 40-60 seconds with a lot of pressure. Let cool completely.

To commemorate my love for Polly Pockets, I made these super cute printable iron-ons that you can put on pretty much anything you desire! Get your printer out and your iron ready- we’re making some tees!

The printable is available in my resource library, which you can get totally FREE access to, just by signing up. What exactly do you get? Access to all my printables, including party planning guides, checklists, and my projects. By signing up, you'll have access to all projects- past, present and future! 

To commemorate my love for Polly Pockets, I made these super cute printable iron-ons that you can put on pretty much anything you desire! Get your printer out and your iron ready- we’re making some tees!

PS- For anyone that missed my Instagram stories, I decided that I'll be "the ugly blogger", because trying to take photos where I am actually pretty proves to be a challenge for me. So, get ready to see some awkward pics like the one above. They're just so much more fun to take than fake laughing so that I look happy!

Sources: All Earrings, Seashell Cup, Diamond Ring, Heart Sunglasses Similar, Vintage Polly Pocket- Waterpark Fun

DIY Pennant Flag Puns

Everyone is super excited about the Super Bowl, and I’m like cool... an excuse to have a party and eat! I’ve never really been into sports (or good at them...) so I figured for Super Bowl, I’ll just do what I do best... crafting! Since I don’t even know who’s playing, I figured I’d keep it nice and generic with some colorful, silly pennant flags that you can use for pretty much any football game in the future. And since I’m ridiculous, they’re full of funny sayings. That’s right- you can make some PUN-nant flags for your home! (see what I did there?!)

Pennant Flag Puns 18.jpg

You will need:

Pennant Flag Puns 5.jpg

Felt (similar here)
Cricut (here)
White iron-on vinyl (here)
Printer (I have this one and love it!)
Pennant template (here)
Cricut Template (here)
Iron (here)
Felt Scraps
Brown acrylic paint (here)
Glue gun
Cricut supplies & fabric scissors (here and here)
Felt football stickers (similar here)

Directions

Pennant Flag Puns Collage.jpg
  1. Cut out your vinyl on the cricut and get it ready for ironing. To learn more about using Cricut iron-on vinyl (with full instructions!) check out this post.
  2. Using your template, cut your pennant flags out of felt. If you position them efficiently, you can get at least 2 flags out of 1 piece of felt. 
  3. Iron your quotes onto the pennant flags. Let cool fully before peeling. See this post for more info.
  4. Create your felt embellishments as per the instructions below.
  5. Glue your embellishments onto the pennant flag using a glue gun.

For the finger:

Pennant Flag Puns 13.jpg

Cut a hand and finger shape out of pink felt. If you’re not sure of the shape, use a photo from online and trace it as a template onto the felt. Add a perimeter with white paint, then paint little triangles below the perimeter for knuckles. Once your paint has dried, iron the #1 onto the foam finger, then glue onto your flag. 

For the cookie:

Pennant Flag Puns cookies.jpg

Cut a squiggly oval out of tan felt. Using brown paint, add small dots for chocolate chips. My paint was named Melted Chocolate- how perfect! Let dry, then glue onto the flag. 

For the beer cup:

Pennant Flag Puns beer.jpg

Cut the shapes out of felt- a cup with handle, an oval with a flat top for the beer, a smaller oval with a flat top for the accent color, and white foam. I also cut an additional cup handle for more depth, which was basically a C-shape. Fold the cup in half, then cut the middle out of the handle. Trim as needed. Glue the felt pieces together and then glue your cup onto your flag. 

Pennant Flag Puns 14.jpg
Pennant Flag Puns 17.jpg
Pennant Flag Puns 16.jpg
Pennant Flag Puns 15.jpg

So what do you do with these now? Add a ribbon and hang them up! Or, add a stick and let your pun-nant flag fly! Or, uh... wave? What great football puns did I miss? Let me know in the comments below!
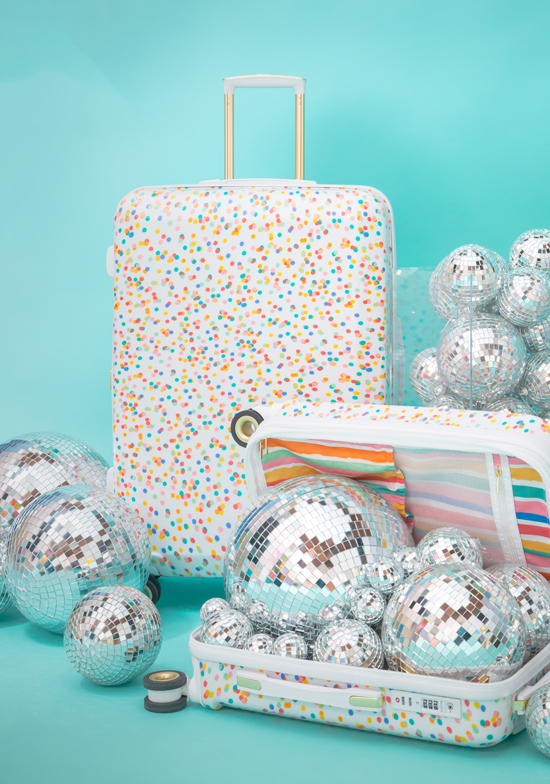
Spice Girls Rainbow Spa Slumber Party

Happy 20-year anniversary of the Spice World release in the US!!! That's right, the movie itself is almost old enough to be able to drink!! Do you remember the first time you went to see it? We waited just a little bit too long and it was out of most theaters, but there was this small theater by my grandma's house in Hells Kitchen and they still had it on! So my parents took us along with grandma (who barely spoke English, since she was from Greece) and we all watched it together. After watching it, my sister and I literally wanted to re-create the whole thing with our Barbies, so we turned our doll house into the Spice Tour Bus and made our Barbies into the Spice Girls. Ugh, it was such a magical time! This movie brings me so much nostalgia.

Anyway, before I start to REALLY ramble... one of my favorite scenes in Spice World was the one where the girls are all laying in robes under a magically colored tent. It's such a short scene, but I always wanted to recreate that party and hang out there! Unfortunately, it's winter here in NYC and it's fudging COLD so I decided to virtually create this scene for anyone to attempt! 

Ever wished you could be the Spice Girls? Throw yourself a rainbow spa slumber party just like the one in Spice World! You'll be sure to make everyone jealous.

1. White Paper Lanterns 2. Toe Separators 3. Orange Robe 4. Nail Scrub Brushes 5. Pedicure Slipper 6. Green Robe 7. Yellow Robe 8. Chupa Chups Lollipops 9. Diet Pepsi 10. Purple Robe 11. White Tent 12. Pink Robe 13. Orange Blanket 14. Blue Pillows 15. Cow Print Pillow Cover 16. Curtain Panels

Setting Up

To set the scene, you’ll want to set up your tent in the grass, or even indoors if it’ll fit. Lay down your orange blanket (1 or 2, depending on the size of your tent) and throw some pillows around to make it comfy. If you’re putting the tent on the grass, you may want to get a waterproof liner for your blanket so you don’t end up with a moist blanket and wet butts!  Then, take your curtain panels and go around the tent to hang them for some privacy and color. Depending on the style of your tent, I recommend using hook clips for an affordable and easy method of hanging! 

I really wanted this party to have that same cozy feel as the one in the movie, plus the really bright and quirky 90’s ridiculousness we all loved. Since we don’t really have an occasion to set up a tent and sit around lounging in the grass like the Spice Girls, I figured a slumber party/spa day would be the perfect excuse! You can get some super affordable items, like spa flip flops, scrubber brushes, and colorful toe separators. Invite each girl to bring their favorite shade of bright polish, or order a set of these rainbow nail polishes so everyone can choose their fave. It would make a great party favor!

Getting in the 90's Mood

Play your favorite 90’s playlist, or blast some Spice Girls as you get pampered in style. Or, you can even grab a portable DVD player or your laptop to play Spice World in the background.

The girls all wear these plush, oversized robes in bright pink, orange, green, yellow, and a purplish-blue for Posh. Super appropriate, right? Haha. The girls are drinking Pepsi and enjoying their candy of choice, chupa chups, so I included those as well.  You can always opt for something healthier, like cucumber water and a fruit and veggie platter. Or, go all out 90's with some of your favorite 90's snacks, like Fruit by the Foot, Gusher's, and Ring Pops.

Say You'll Be There

Are you guys just dying to throw this party?! It's fulfilling all my 90's dreams, I'll tell you that much! So, which scene from Spice World did you want to recreate? And, which Spice Girl was your favorite? Let me know in the comments below! (PS- I loved Ginger!)