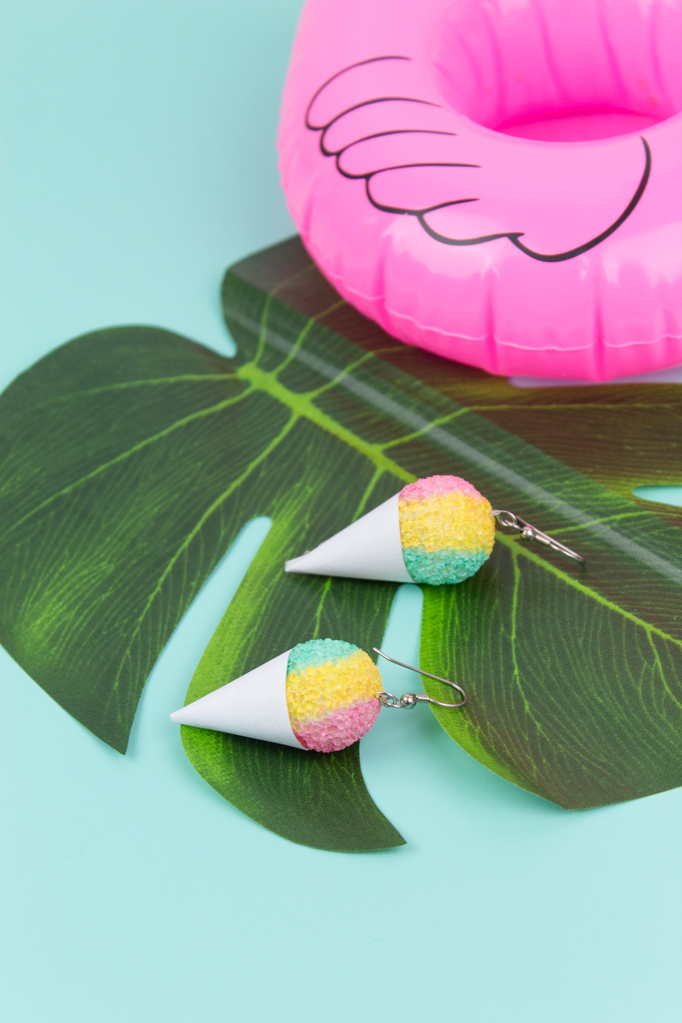
DIY Snow Cone Earrings

Now that I’ve officially switched over to my summer wardrobe, I’m looking for some fun accessories that can spice up my outfits. I find that a lot of times I wear the same outfit over and over, but I love to switch out my accessories in between. Since we all know I love to DIY anything I can get my hands on, I decided to make these snow cone earrings out of just printer paper and styrofoam balls! They’re great because they can be made in any color of your choosing. They can even be made for Fourth of July in red, white, and blue. They’re so fun and are sure to get the attention of everyone around you. The full DIY is over on the Giggles Galore blog so head on over there now to see it! 

Now that I’ve officially switched over to my summer wardrobe, I’m looking for some fun accessories that can spice up my outfits. I find that a lot of times I wear the same outfit over and over, but I love to switch out my accessories in between. The…

Let me give you a quick overview of the steps, because it’s extremely simple. All you’re doing is painting the Styrofoam balls, tracing the snow cone wrapper template, adding the earring pieces and gluing it all together. Easy peasy, lemon squeezy.

Now that I’ve officially switched over to my summer wardrobe, I’m looking for some fun accessories that can spice up my outfits. I find that a lot of times I wear the same outfit over and over, but I love to switch out my accessories in between. The…

This project would be so fun to make with older kids or teens, or even by gathering up your girlfriends. Grab some rosé and get to crafting! These are now some my favorite earrings that I own and I can’t wait to wear them all summer long. They’re sure to cool off a hot summer day!

The Easiest Way To Get A Salon Blowout At Home

If you're following me on Instagram, you know that I started straightening my hair after I had postpartum hair loss. My hair is pretty thick and curly, so I was ending up with HUGE knots that took about ten minutes to brush out in the shower. Plus, my hair was getting tangled within a day of being washed. It looked horrible and felt even worse, so I decided this was as good a time as any to start straightening my hair. I've always wanted to be the type of girl that does her hair and tries to look nice, so this sort of gave me the excuse I needed to just get it done. So, I decided to try the Revlon One-Step Hair Dryer and Volumizer and holy cow. I’m a convert!

*This post contains affiliate links.

I always hated the process of straightening my hair, and I especially hated the way it felt and smelled after being straightened. Overall it wasn't really worth the effort. That is, until I found the magic wand of hair tools! Seriously, this thing i…

I always hated the process of straightening my hair- it left my hair feeling really damaged and brittle, with a lovely fried smell on top of it. Overall it wasn't really worth the effort. That is, until I found the magic wand of hair tools. Seriously, this thing is a godsend and it totally changed the game for me! It works quickly, it's super easy to use, and it leaves my hair full of body. Most of all, my hair looks, feels, and SMELLS healthy. No more fried smell for this gal!

I've told several friends about this magic tool and they all went and got it (seriously... all of them!) so I thought it might be helpful to write a blog post about it for anyone who's either on the fence, or doesn't know about this tool at all. I imagine it's a sad life to be living, smashing your hair in a flat iron or trying to juggle a round brush and a blow dryer. I mean, I know because I lived that life haha so this way is much easier.

The process is really simple. For starters, I add a small amount of heat protecting spray in my hair. This helps to (duh) protect my hair but I also think it keeps it from getting too frizzy.

I always hated the process of straightening my hair, and I especially hated the way it felt and smelled after being straightened. Overall it wasn't really worth the effort. That is, until I found the magic wand of hair tools! Seriously, this thing i…

After that, the process is simple. I separate my hair into sections using a jaw clip and sectioning clips. Then, I take a small section and run the Revlon One-Step Hair Dryer and Volumizer through several times, making sure to get the roots and ends, which both seem to be the most troublesome. The roots always seen to stay curly, and with a flat iron this is where I end up burning myself. However, with this tool I don't have to worry!

I want to talk a minute about how this tool works, because it was slightly different than I originally thought. It’s literally a hair dryer within a round brush. So, it sounds like a blow dryer and has 3 temperature settings- high, low and cool. It doesn’t get hot like an iron or twirl like other tools. So, to get it to work you twist your wrist like you would with a round brush. Except your other hand is free, which makes it much easier than trying to juggle both a brush and a blow dryer.

I always hated the process of straightening my hair, and I especially hated the way it felt and smelled after being straightened. Overall it wasn't really worth the effort. That is, until I found the magic wand of hair tools! Seriously, this thing i…

Since the ends of my hair are always the most damaged, I pay them special attention. After I blow dry each section, I twirl it so that it ends up with a little bit of a curl. I like doing this so that it’s not just straight, and it also prevents me from having to use a curling wand afterwards. I think it also helps that my hair naturally has a curl.

I always hated the process of straightening my hair, and I especially hated the way it felt and smelled after being straightened. Overall it wasn't really worth the effort. That is, until I found the magic wand of hair tools! Seriously, this thing i…

The Revlon One-Step Hair Dryer and Volumizer is honestly my favorite straightening tool, and I have plenty of them! It's the only one that's sustainable for keeping my hair straight, week after week. It only takes me about 20 minutes and I can do it fresh out of the shower, which really helps. The results speak for themselves- look at this amazing shine and body! I don't even need to use a finishing oil after, because it just looks so good. Even without the curl, my ends still look good. I could never say that about flat ironing it! The ends were always dead and scraggly looking.

I always hated the process of straightening my hair, and I especially hated the way it felt and smelled after being straightened. Overall it wasn't really worth the effort. That is, until I found the magic wand of hair tools! Seriously, this thing i…

If you're looking to straighten or style your hair regularly, you owe it to yourself to get this Revlon One-Step Hair Dryer and Volumizer! It's not the cheapest tool, but at around $60 it also isn't the most expensive (looking at you, Dyson). In my opinion, it is a very worthwhile investment and it’s a total necessity for me now!

Picnic Bingo Cards- With Free Printable!

The weather is getting warmer and I am so darn excited! I love getting outside and being able to enjoy the nice spring season. We only have a few months of perfect weather, so I love to maximize my time outside. One of the best ways to enjoy the outdoors is having a picnic! And, since I always love a good game, I created a printable bingo game you can use to pass the time while you sit outside with your family!

Looking for a fun activity to play during your family picnics? How about this fun (and FREE!) printable picnic bingo cards?! Click to get yours today. #freeprintable #picnic #summerfun

This is a free printable you can get over on the Giggles Galore blog, and it can be played with up to 8 people. You can use almost anything to play, like pebbles, pennies or even bingo chips! It has both text and graphics, and I personally think it’s sooooo cute.

Looking for a fun activity to play during your family picnics? How about this fun (and FREE!) printable picnic bingo cards?! Click to get yours today. #freeprintable #picnic #summerfun

You know you want to play, and it’s totally free! So, head on over to the Giggles Galore blog to print out your bingo cards and play with your family today!

Pink Painted Door Makeover (The Easy Way!)

This spring, I decided to tackle something that's been on my to-do list for a long time- repainting my front door! It's been a boring shade of brick red since we bought the house over 3 years ago and I was ready to give it the facelift it deserved. There was one major thing stopping me though- how do I remove all this hardware to paint it? I wanted to paint the door without all the hard work, so I decided to partner up with FrogTape to give this door a much-needed makeover.

*This post was sponsored by FrogTape. All content and opinions are my own.

On Wednesday’s we paint our door pink!! With the help of FrogTape, I was able to paint my door without having to remove the hardware. It was easy peasy lemon squeezy, and left such crisp clean lines! Head to the blog for all the details so you can g…

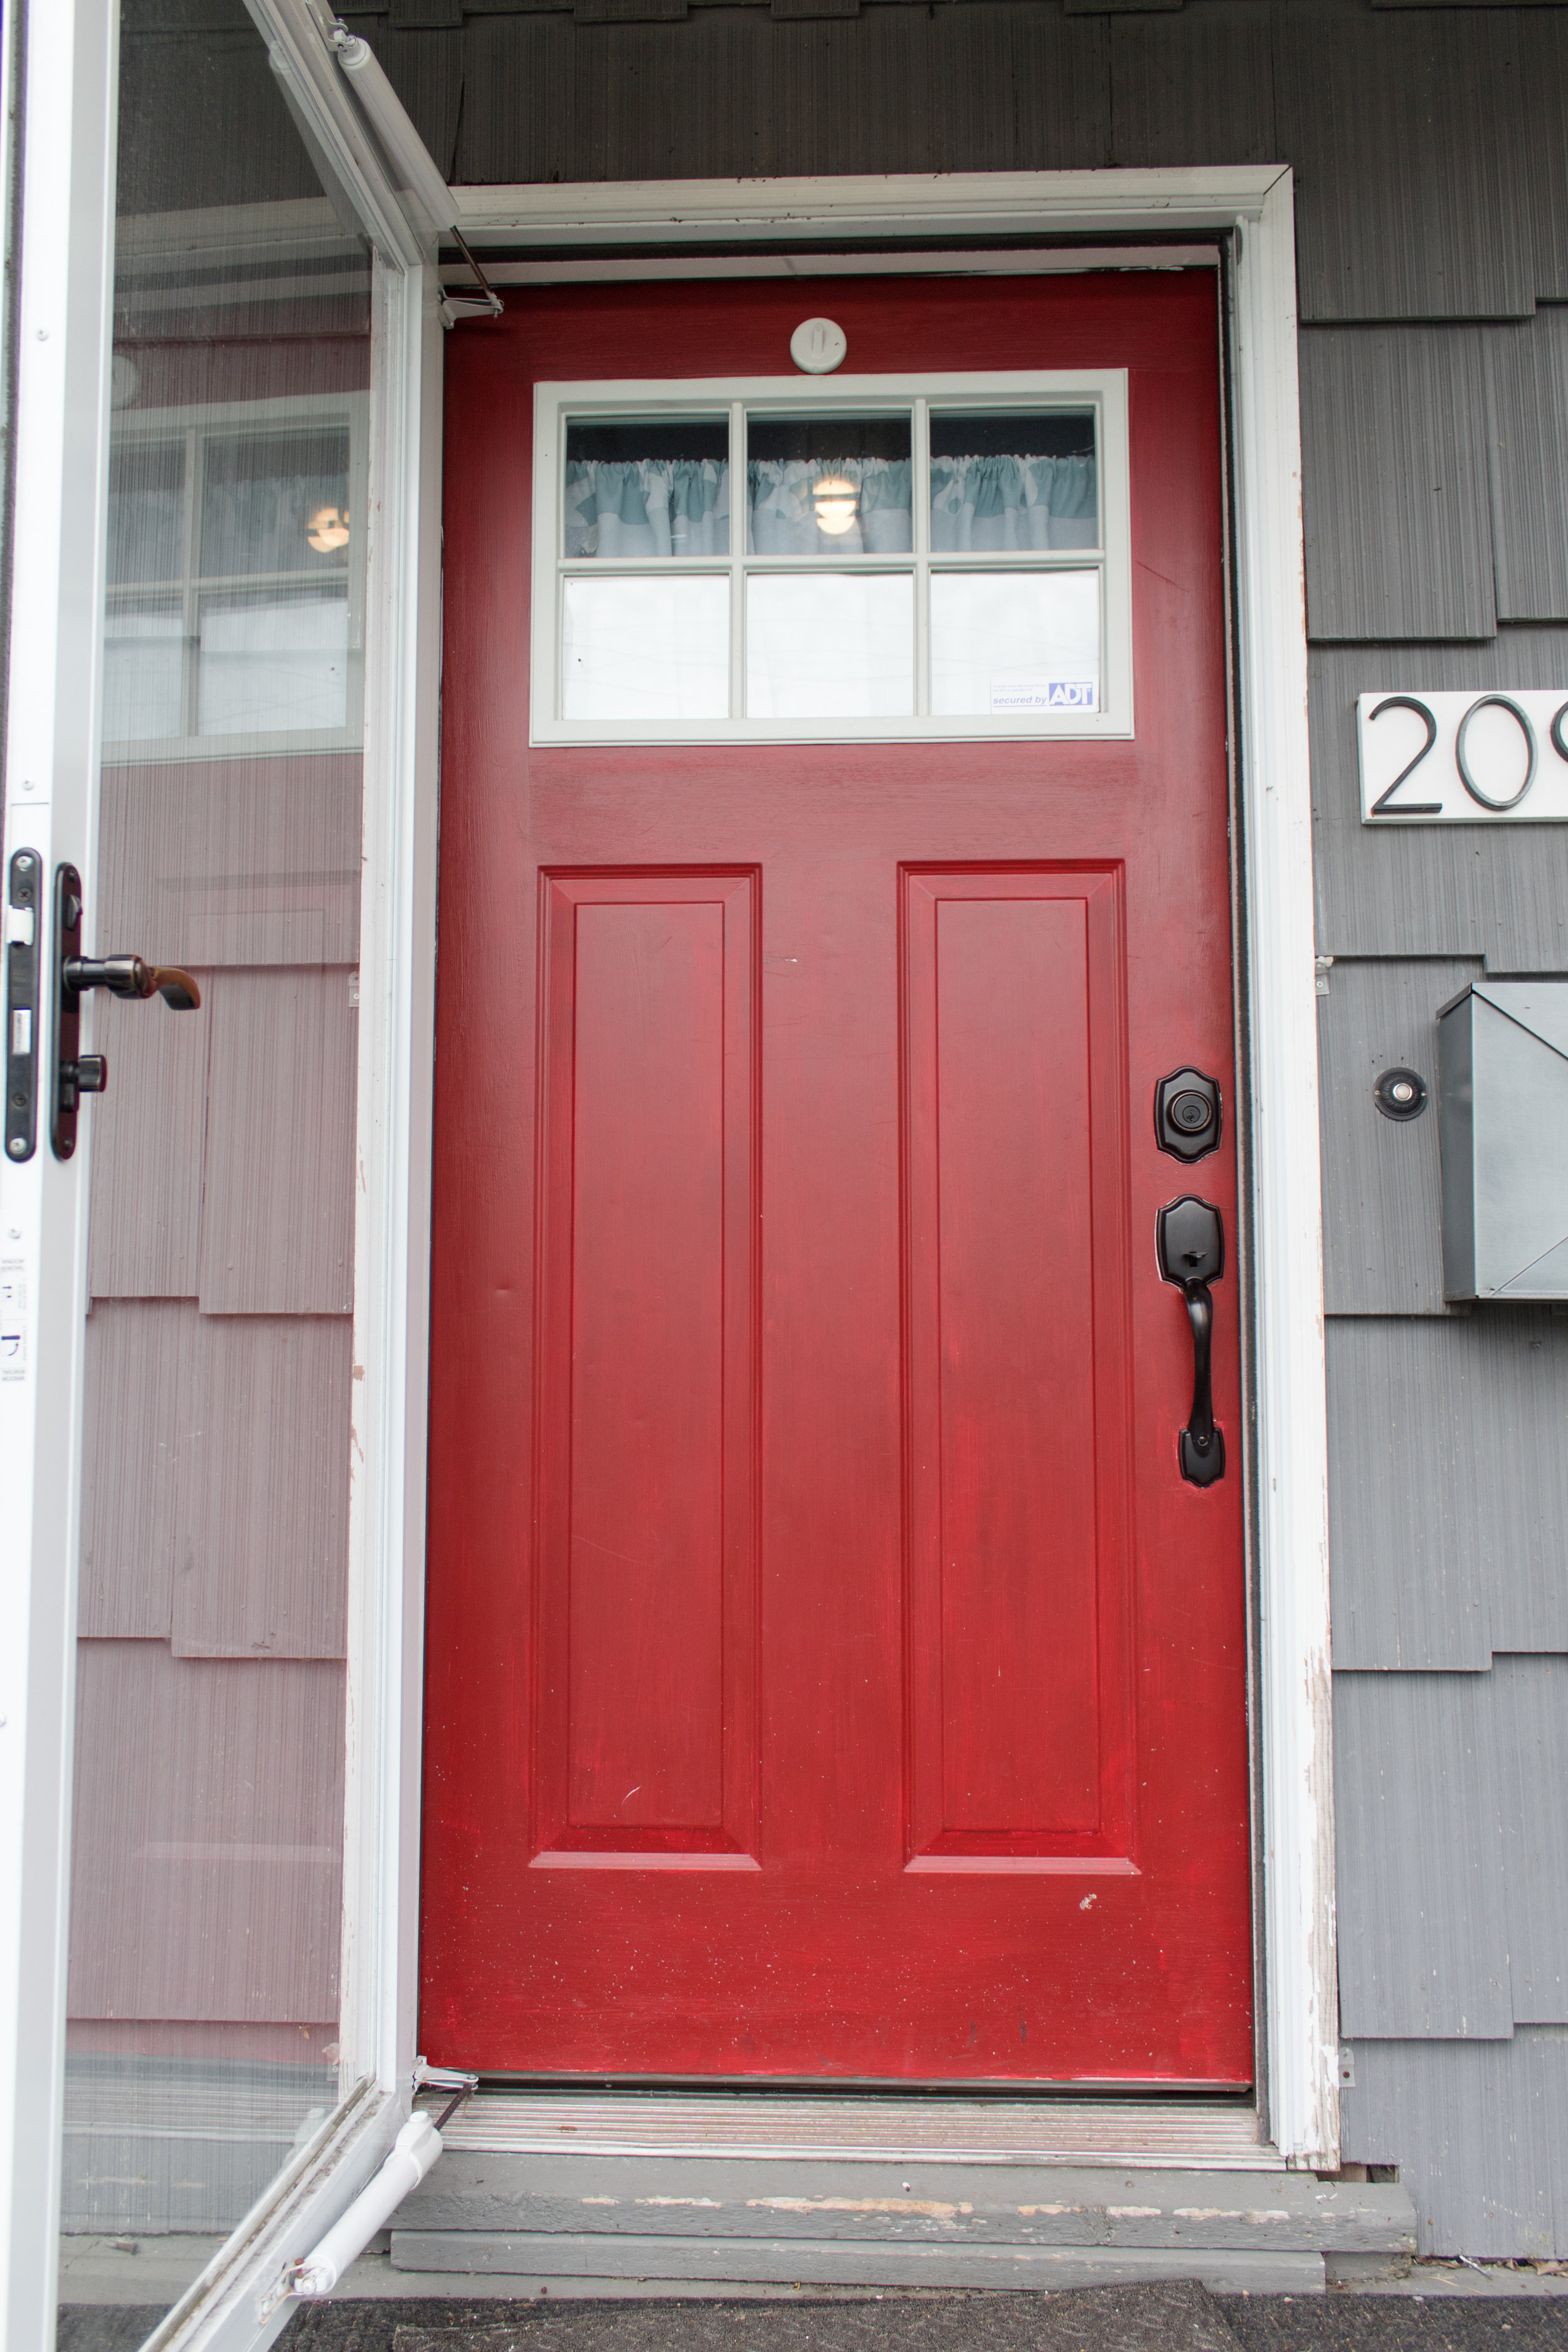
Before we begin, let's take a look at my door before the makeover. It seems like it had been painted around the hardware, but BADLY. All the strokes were in random directions. We actually replaced the door hardware when we bought the house, but the previous ones were covered in paint along the edges. It wasn't a neat job, and the door had a sheer hue to it- you could see every paint stroke and even the white door underneath. It looked like it only got one sad, lonely coat of paint.

On Wednesday’s we paint our door pink!! With the help of FrogTape, I was able to paint my door without having to remove the hardware. It was easy peasy lemon squeezy, and left such crisp clean lines! Head to the blog for all the details so you can g…

Prepping To Paint Your Door

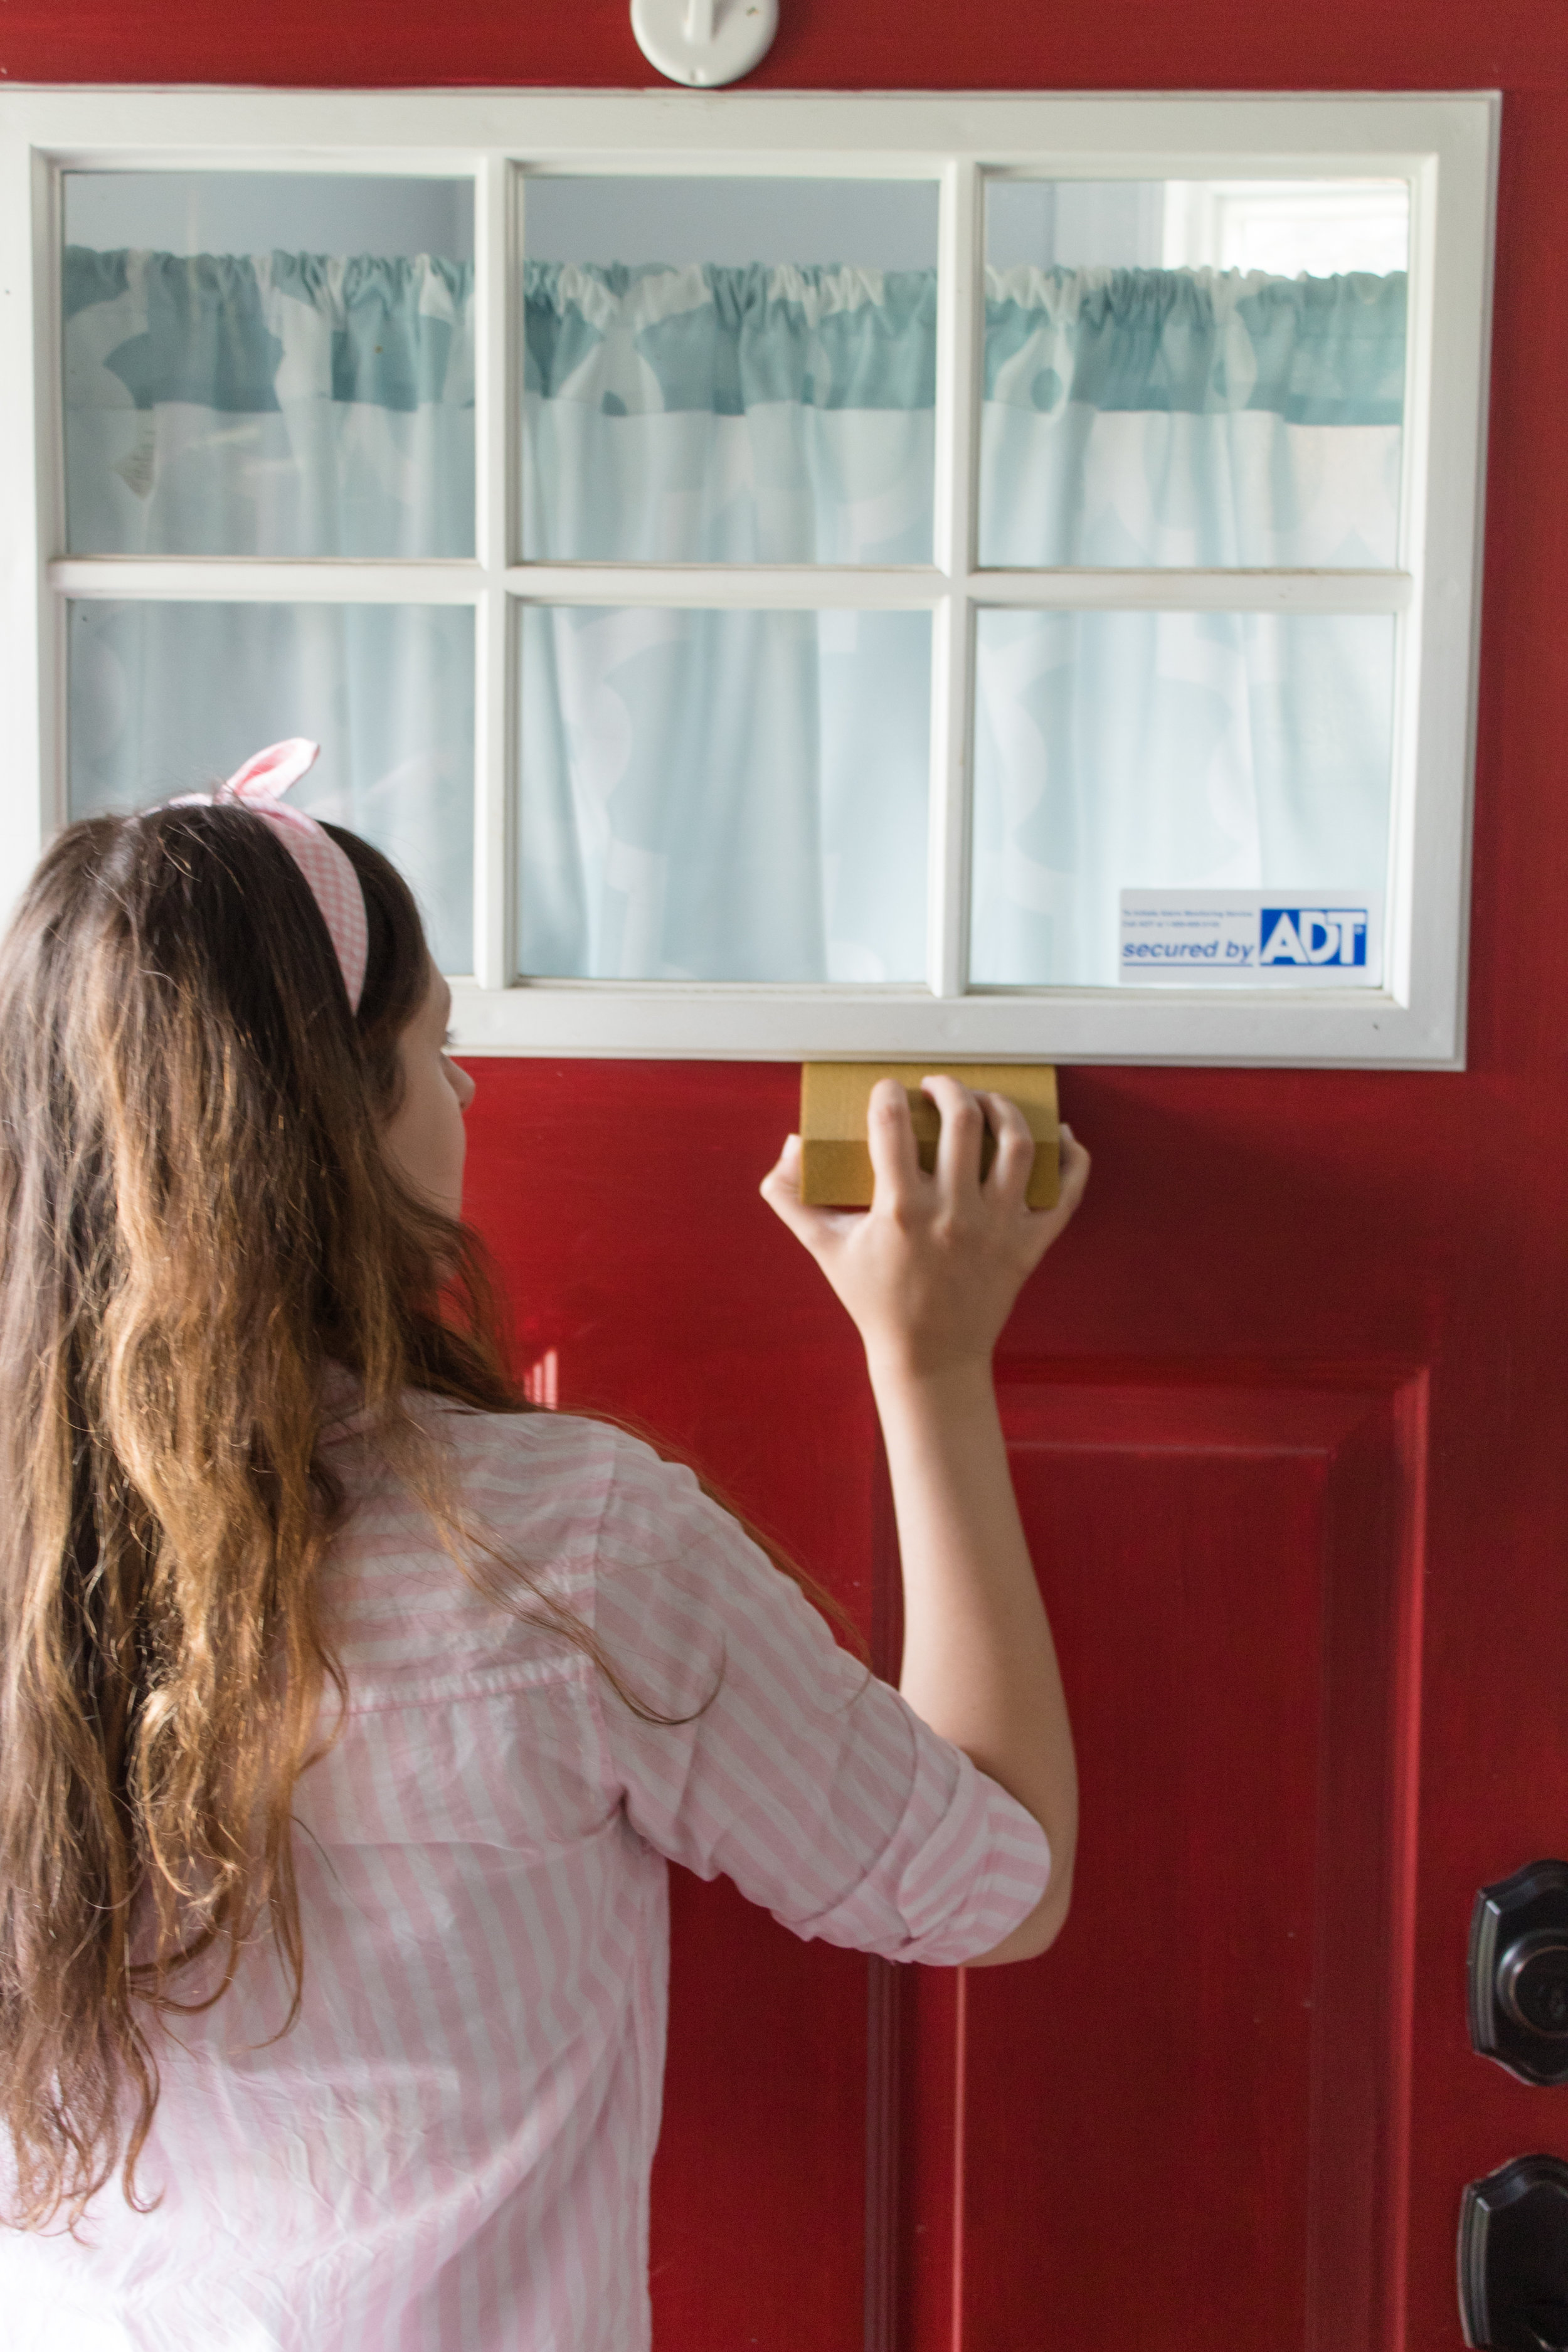
Ok, before you begin painting your door you'll want to prep it. I started by giving it a gentle sanding to get all the dirt and debris off of it. Even with a storm door over it, a lot of stuff got stuck to the door!

On Wednesday’s we paint our door pink!! With the help of FrogTape, I was able to paint my door without having to remove the hardware. It was easy peasy lemon squeezy, and left such crisp clean lines! Head to the blog for all the details so you can g…

Once it was cleaned and sanded, I taped off all my edges with FrogTape. It's the only tape with PaintBlock® Technology, which ensures no paint seeps through. The result is sharp paint lines and a professional-looking paint job. Plus, it removes cleanly from most surfaces for up to 21 days!

On Wednesday’s we paint our door pink!! With the help of FrogTape, I was able to paint my door without having to remove the hardware. It was easy peasy lemon squeezy, and left such crisp clean lines! Head to the blog for all the details so you can g…

I used the FrogTape to cover all my hardware, plus I made a border to protect the white window. It was really easy to use! Within a few minutes, I was ready to get my paint on. All of this was done under the supervision of my trusty helper, Lexie. I’m not sure how she didn’t get any paint on her, but I guess she’s a real pro.

On Wednesday’s we paint our door pink!! With the help of FrogTape, I was able to paint my door without having to remove the hardware. It was easy peasy lemon squeezy, and left such crisp clean lines! Head to the blog for all the details so you can g…

Painting Your Door

Now that your door is all taped up with FrogTape, it's time to start painting! I began by outlining the panels with paint using a small angled brush. I also used this brush along the edges near the window and hardware to ensure everything got a nice even coat of paint.

On Wednesday’s we paint our door pink!! With the help of FrogTape, I was able to paint my door without having to remove the hardware. It was easy peasy lemon squeezy, and left such crisp clean lines! Head to the blog for all the details so you can g…

After everything was outlined, I used my roller to cover the rest of the surface area in this really fun pink paint! My poor husband said he didn’t care what color I picked, as long as it wasn’t pink. Well…. sorry honey! I promise, I meant to do it a brighter shade of red, but this color (Hint of Cherry by Valspar) stopped me in my tracks and I had to do it. It was calling to me! And, while I was at the paint counter doubting my choice, there was another person there that picked the EXACT SAME COLOR so I think it was fate. A pink door was meant to be.

While I wasn’t sure exactly how my husband would react to this color, I knew using FrogTape was the right decision. I could paint with confidence, because I knew FrogTape's PaintBlock® Technology would ensure no paint would seep under the tape and ruin my hardware.

On Wednesday’s we paint our door pink!! With the help of FrogTape, I was able to paint my door without having to remove the hardware. It was easy peasy lemon squeezy, and left such crisp clean lines! Head to the blog for all the details so you can g…

I slathered on the first coat of paint and started to get excited. In between coats, I put my supplies in a large trash bag with a little bit of water to prevent it from drying it. This meant that I didn’t have to wash them between coats, which was a HUGE timesaver!

On Wednesday’s we paint our door pink!! With the help of FrogTape, I was able to paint my door without having to remove the hardware. It was easy peasy lemon squeezy, and left such crisp clean lines! Head to the blog for all the details so you can g…

Once everything was fully painted, I pulled off the tape for the grand reveal! I have to admit I was a little but nervous, but FragTape did an AMAZING job. All the edges were crisp and beautiful.

On Wednesday’s we paint our door pink!! With the help of FrogTape, I was able to paint my door without having to remove the hardware. It was easy peasy lemon squeezy, and left such crisp clean lines! Head to the blog for all the details so you can g…

It took about 3 coats of paint, but my door is now fresh and ready to go! Every time I look at it, I get so happy. It's the only pink door on the block, and possibly even in the neighborhood! I've gotta give a huge shout-out to FrogTape for helping me get this project off my to do list. It felt amazing, and looks even better! If you’re looking to give your front door a new look, head over to your local hardware store and grab yourself a roll of FrogTape and a quart of paint.

On Wednesday’s we paint our door pink!! With the help of FrogTape, I was able to paint my door without having to remove the hardware. It was easy peasy lemon squeezy, and left such crisp clean lines! Head to the blog for all the details so you can g…

Thanks to FrogTape, I did this project in just one day, and I’m ready to tackle the next one on my to do list! What color would you paint your front door? Let me know in the comments below!

The Dreamy Baby Photography Course is LIVE!

If you’ve been trying to take better photos of your baby…. have I got the perfect thing for you! I’m creating a baby photography course and it’s now available for pre-sale! I’ve been wanting to launch this for several months now and I am so excited that it’s happening! I’ve been working on baby photography since Hailey was born and I know all mommas want better photos of their babes, so I’ve been taking notes so I can teach my ways to you! I’ll also be answering some FAQ below.

Nia-Easter-Shoot-31.jpg

Why did you create this DIY baby photography course?

Great question! When we took Hailey for her newborn photoshoot, it left a lot to be desired. I decided that I wanted to take better photos of her and I wanted to take them more often than just the milestones. So, I started learning more about photography and applying these new skills to taking pictures of the baby!

Will I learn how to take my own newborn photos?

Yes! There’s a module all about newborn photos! I’ll teach you what I learned from taking photos of Hailey plus another newborn session I did! They’re only that tiny once, so it’s important to capture those little details and to do it right the first time.

2019-03-28_01.jpg

Do I need a fancy camera, or can I just use my cell phone?

No matter what equipment you’re using, I’ll show you the basic principles that will take your photography to the next level! If you’re using a fancy camera, I’ll teach you how to get off automatic mode so that you can get the very best pictures possible.

Can I get this for a mother’s day or baby shower gift?

Yes! You can either use the person’s email address to send them the course right away, or use yours and update it once you’re ready to give them the gift. It’s really easy to change the email address by going to your account and updating it.

I’m so busy- will I even have time to learn this stuff?

Yes! One of the very first lessons will show you how to find time to watch these videos. Plus, my system is quick and easy so that you’re only taking a few minutes to set up plus how to find the perfect time of day for ideal lighting. Then, you snap pictures for as long as you want! Editing is quick and easy with my method, which I’ll teach you step by step.

Hailey vaca half-1.jpg

That picture up there? It’s a cell phone picture I snapped of Hailey in the moment! Nothing fancy was done when I took it- she just looked cute so I snapped a pic. Then I edited it so that it was well-lit and dreamy. Which picture would you rather have- dark and dreary or bright and airy?! I’ll also add that this course will teach you how to edit your photos WITHOUT those fancy presets that get advertised. Instead of putting a band-aid over your photos, I’ll be teaching you how to take better photos AND how to edit all of them to look amazing.

So, don’t dawdle! Head over now to enroll in the course and start taking better photos of your baby today! The course is affordable and for every sale, I’ll be donating $1 to March of Dimes. If you have any other questions, pop them below and I’ll be sure to answer them ASAP!