9 Tutorials to Help You Build the Best Thanksgiving

Ok guys, now that we are in November and Halloween is officially over, it's time to start thinking about Thanksgiving! Towards the end of the year, it seems like we barely have a minute to rest. By the time September rolls around we are nearly simultaneously hit with Halloween costumes, Thanksgiving recipes, and Christmas gifts. You've got to start early if you want to come out ahead! I've rounded up some of my favorite Thanksgiving DIY's to give your table the colorful makeover it deserves!

Towards the end of the year, it seems like we barely have a minute to rest. You've got to start early if you want to come out ahead! I've rounded up some of my favorite Thanksgiving DIY's to give your table the colorful makeover it deserves. Click t…

This tablescape covered in ombre pumpkins is to die for!

Towards the end of the year, it seems like we barely have a minute to rest. You've got to start early if you want to come out ahead! I've rounded up some of my favorite Thanksgiving DIY's to give your table the colorful makeover it deserves. Click t…

This two ingredient apple cider mimosa recipe is deliciously fall.

Towards the end of the year, it seems like we barely have a minute to rest. You've got to start early if you want to come out ahead! I've rounded up some of my favorite Thanksgiving DIY's to give your table the colorful makeover it deserves. Click t…

These turkey feather place cards are the perfect way to assign seating.

Towards the end of the year, it seems like we barely have a minute to rest. You've got to start early if you want to come out ahead! I've rounded up some of my favorite Thanksgiving DIY's to give your table the colorful makeover it deserves. Click t…

These mini pumpkin florals make the best center pieces. 

Towards the end of the year, it seems like we barely have a minute to rest. You've got to start early if you want to come out ahead! I've rounded up some of my favorite Thanksgiving DIY's to give your table the colorful makeover it deserves. Click t…

This colorful leaf garland will brighten up any space!

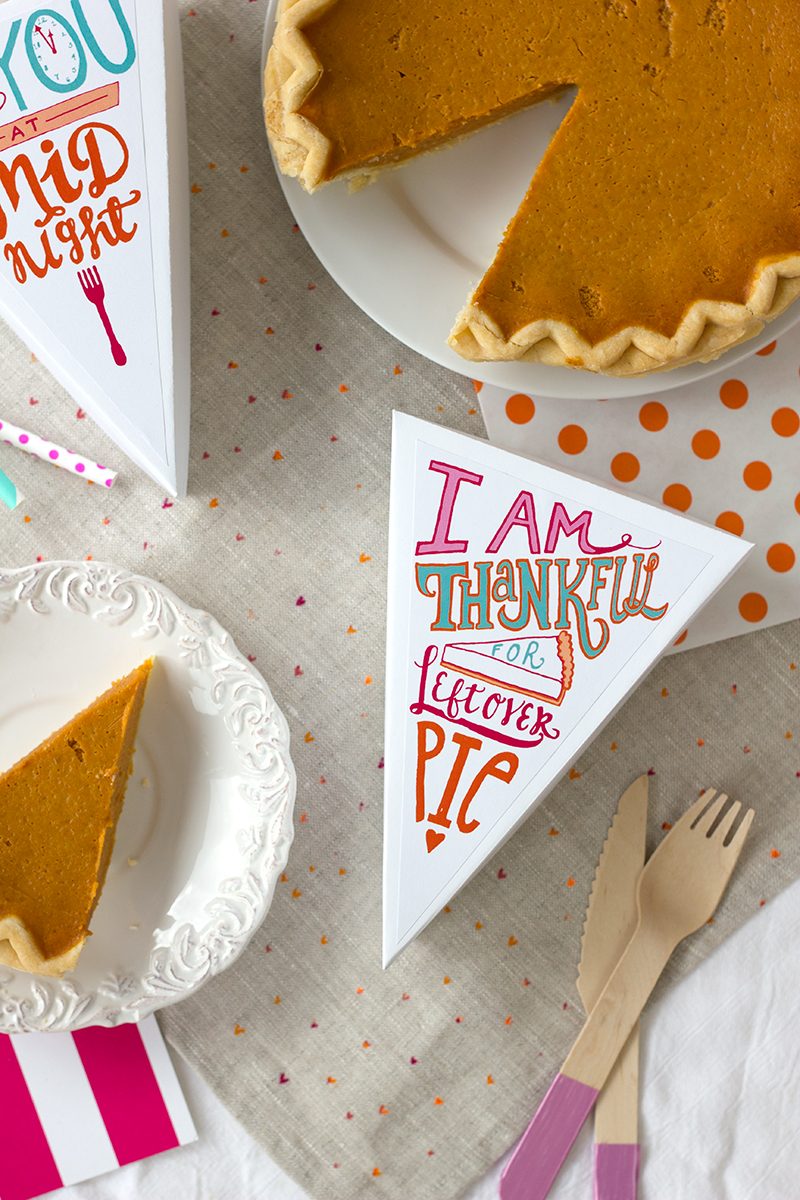
These leftover pie labels are fabulous for taking home some extra.

Towards the end of the year, it seems like we barely have a minute to rest. You've got to start early if you want to come out ahead! I've rounded up some of my favorite Thanksgiving DIY's to give your table the colorful makeover it deserves. Click t…

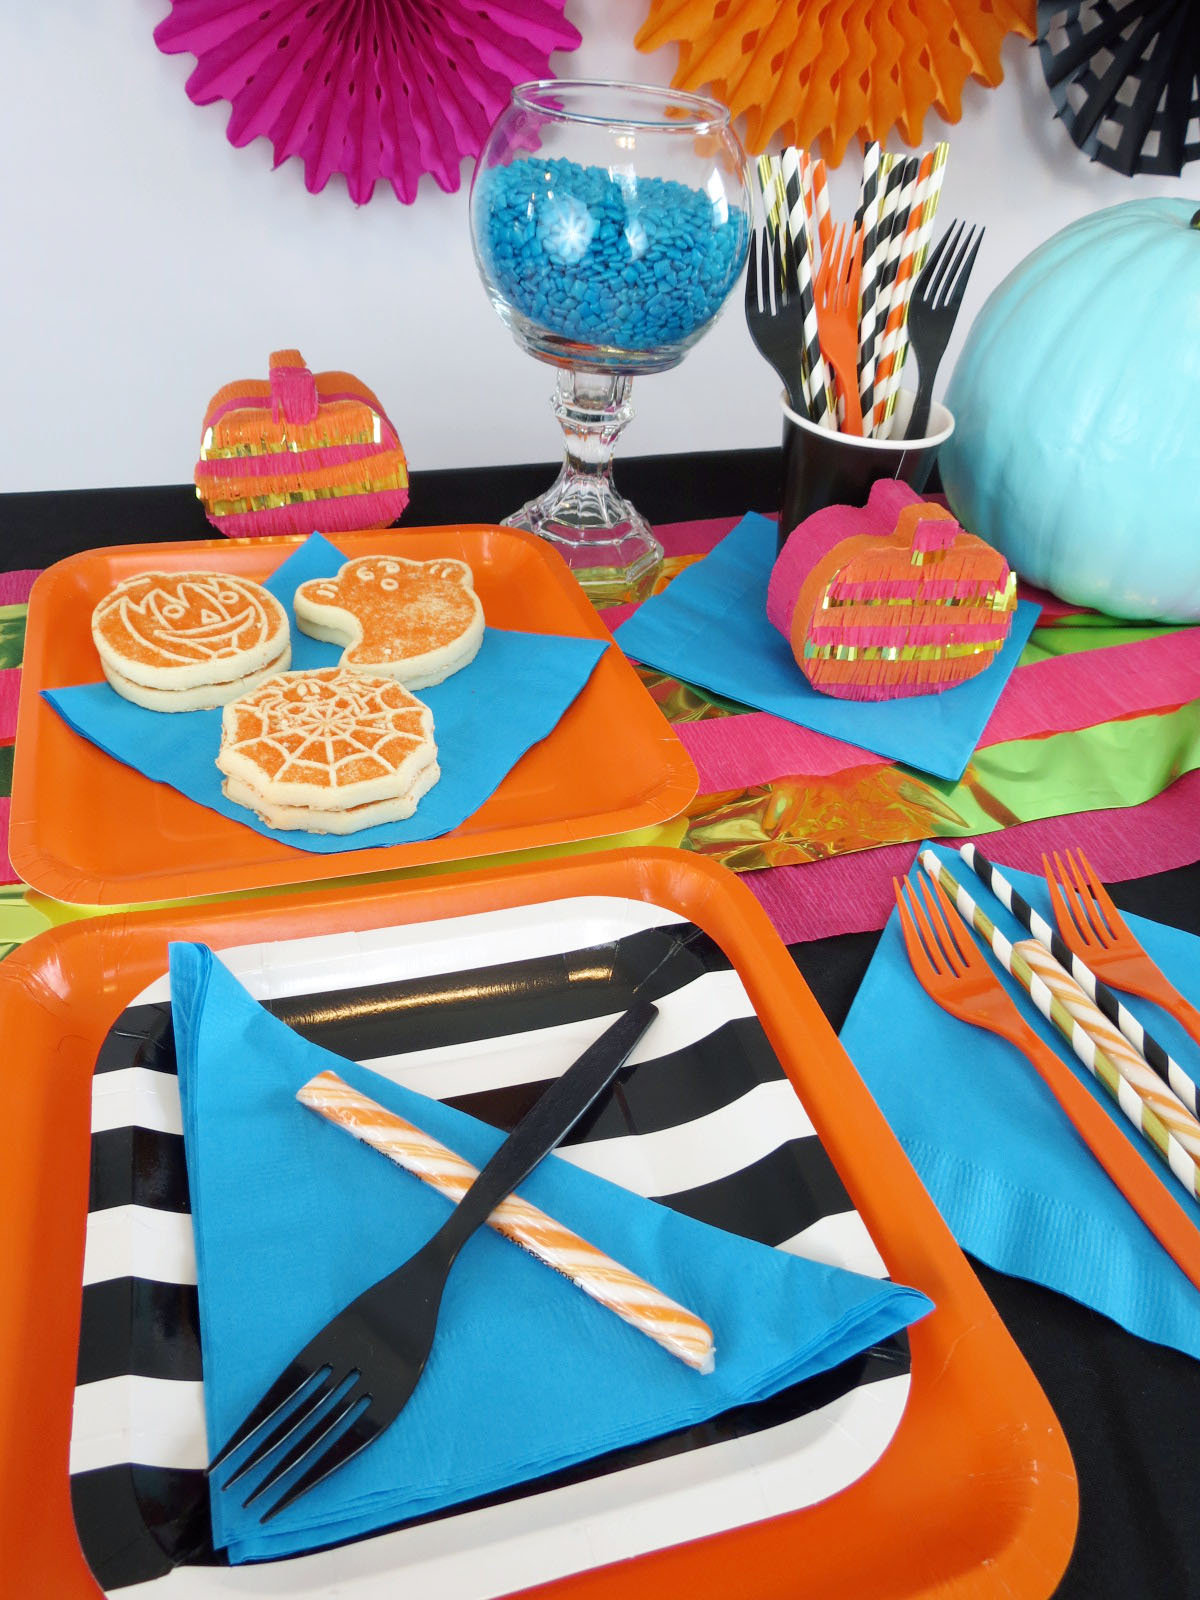
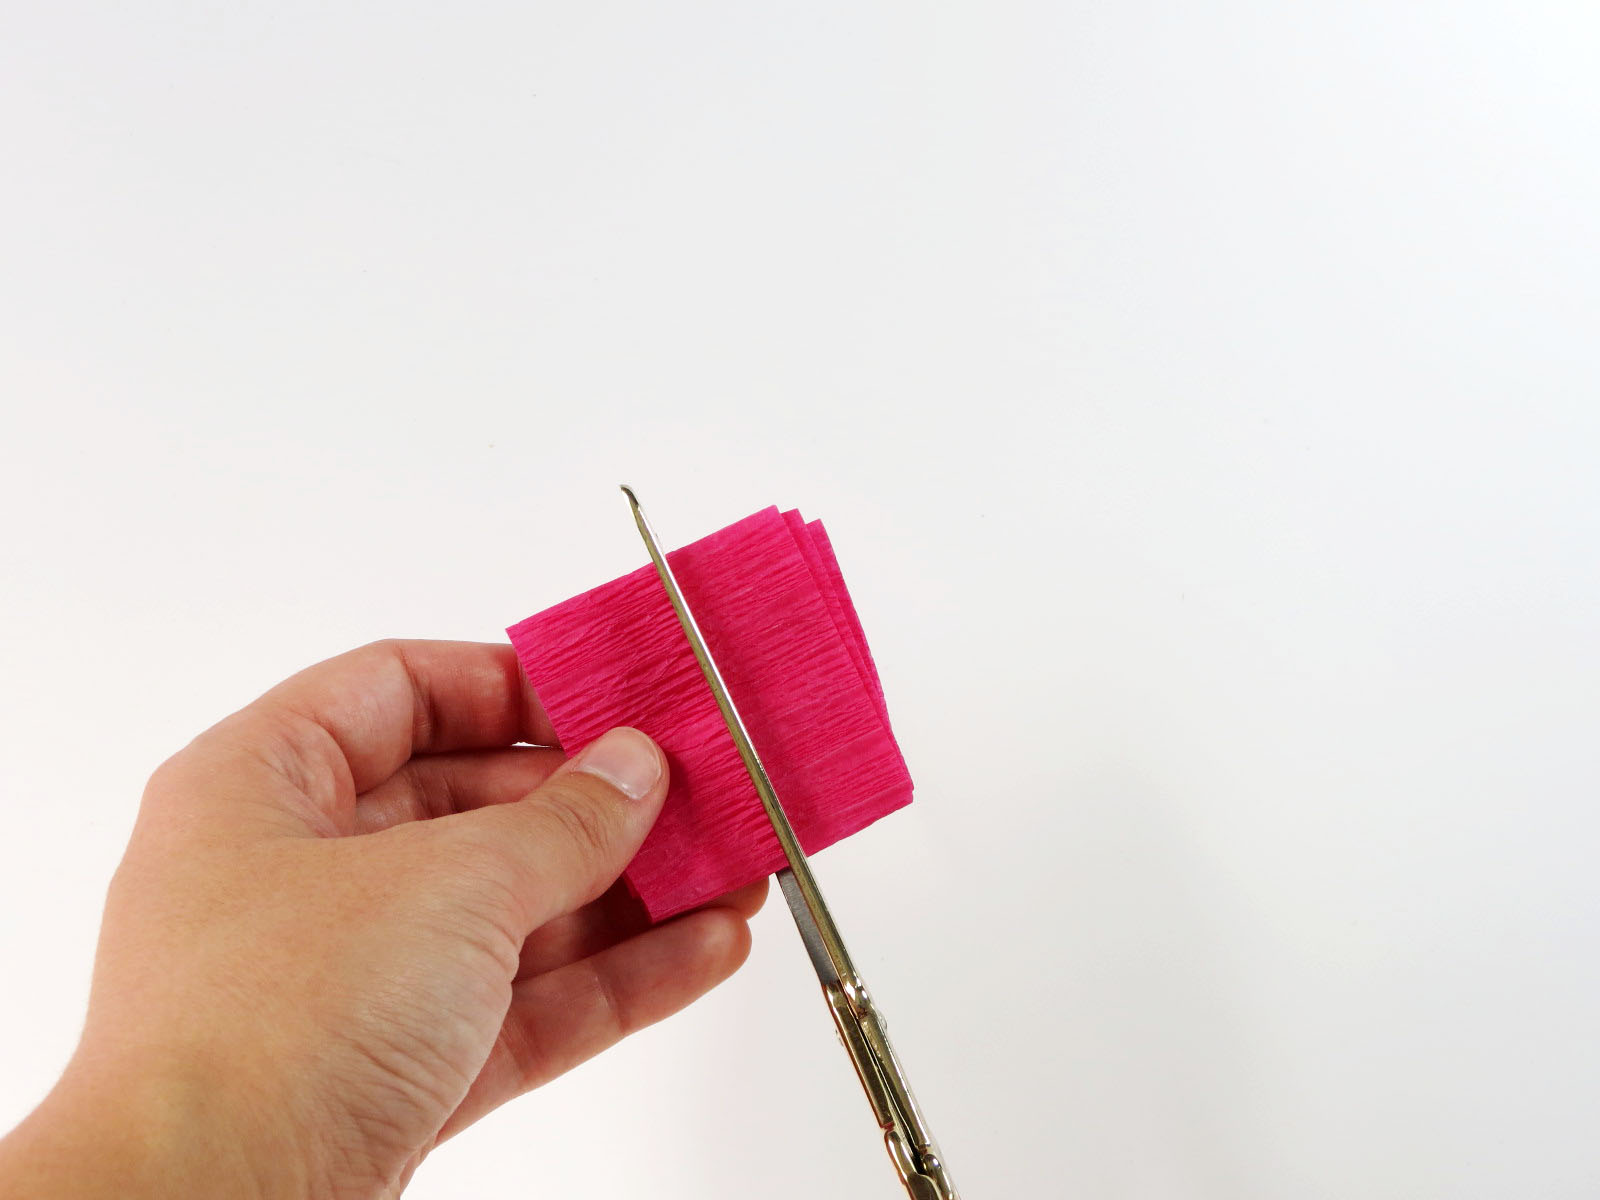
These DIY mini faux piñatas will add a festive touch to the kids table. 

Towards the end of the year, it seems like we barely have a minute to rest. You've got to start early if you want to come out ahead! I've rounded up some of my favorite Thanksgiving DIY's to give your table the colorful makeover it deserves. Click t…

These clay wishbones are a fun twist on a classic.

Towards the end of the year, it seems like we barely have a minute to rest. You've got to start early if you want to come out ahead! I've rounded up some of my favorite Thanksgiving DIY's to give your table the colorful makeover it deserves. Click t…

This color wrapped wheat is a fun addition to a more traditional style table.

I just love planning for the holidays! Which one of these tutorials is your favorite? Let me know in the comments below!

How to Throw a Colorful Halloween Party

Halloween is coming, and I'm just so excited! I still remember the very first Halloween party I had way back in high school. While most other teens liked alcoholic binge fests or home destruction, my party was a classy affair. I had found a magazine with all these fun recipes and Halloween themed treats at the supermarket, and I wanted to make everything! I decided then and there that I needed to have a party. This time, I decided to give the traditional Halloween party a facelift with a fresh color palette. It's fun, glam and has just the right amount of spooky. 

To throw a lavish affair on a budget, head on over to Oriental Trading. They've got everything you need to host a haunting affair without breaking the bank! P.S. This is not a sponsored post. I just happen to loooove using Oriental Trading! ;) Be sure to check out my shopping list at the bottom of this post for all the items pictured.

halloween party full table2.jpg

Let's start at the top! For my color scheme, I went with traditional orange and black, mixed in with teal and pink for a fresh and girly twist. I also accented with white and gold to keep it light and add a bit of glam. 

Halloween is coming, and I'm just so excited! I decided to give the traditional Halloween party a face-lift with a fresh color palette. It's fun, glam and has just the right amount of spooky. Click to find out all the details!

Now onto the table setup! I put some candy in my DIY dollar store candy dishes. I only bought two kinds, but Oriental Trading has TONS of different kinds of candy! I think my favorites are these heart candies, which are tasty and so addictive. 

Halloween is coming, and I'm just so excited! I decided to give the traditional Halloween party a face-lift with a fresh color palette. It's fun, glam and has just the right amount of spooky. Click to find out all the details!

Be sure to add some faux piñatas to your table as favors to your guests. They're fun and easy to make while watching tv! I recommend binge watching Friends as you make them.

Halloween is coming, and I'm just so excited! I decided to give the traditional Halloween party a face-lift with a fresh color palette. It's fun, glam and has just the right amount of spooky. Click to find out all the details!

In the center, I included a teal pumpkin. It's cute, colorful and supports a great cause!

Halloween is coming, and I'm just so excited! I decided to give the traditional Halloween party a face-lift with a fresh color palette. It's fun, glam and has just the right amount of spooky. Click to find out all the details!

So much fun!

Halloween is coming, and I'm just so excited! I decided to give the traditional Halloween party a face-lift with a fresh color palette. It's fun, glam and has just the right amount of spooky. Click to find out all the details!

I made this table runner using leftover crepe paper from my faux piñatas and some scotch tape. It was virtually free and can be tossed in the trash when the party is over! 

Halloween is coming, and I'm just so excited! I decided to give the traditional Halloween party a face-lift with a fresh color palette. It's fun, glam and has just the right amount of spooky. Click to find out all the details!

I love this cute and quirky Trick or Treat banner. It comes in two parts, so you can hang it up however works best for you!

Halloween is coming, and I'm just so excited! I decided to give the traditional Halloween party a face-lift with a fresh color palette. It's fun, glam and has just the right amount of spooky. Click to find out all the details!

For the table, I stacked the plates so that each place setting can get all the colors at once. It adds a festive and spooky touch. Ditto for the forks and straws! Finally, each person gets an orange candy stick to go with it.

Halloween is coming, and I'm just so excited! I decided to give the traditional Halloween party a face-lift with a fresh color palette. It's fun, glam and has just the right amount of spooky. Click to find out all the details!

I love it all, but I think these spiderweb paper fans are my favorite part. Look at how cute they are! They add a spooky touch that's so elegant.

Halloween is coming, and I'm just so excited! I decided to give the traditional Halloween party a face-lift with a fresh color palette. It's fun, glam and has just the right amount of spooky. Click to find out all the details!

Now raise a glass and celebrate a job well done!

Planning a party is so rewarding, especially once everyone arrives and you get to have some fun! So what do you think? Do you agree that Halloween doesn't have to be spooky? Let me know in the comments below!

DIY Mini Faux Pinata

I love a good piñata, but the thought of making them from scratch seemed a bit daunting and time consuming, especially for something that would be torn apart. That's when it hit me- faux piñatas! All the cuteness and fun of a piñata, made in half the time, that can be kept indefinitely. Win-win! So, I scoured Oriental Trading for supplies and got to work creating this tiny piñata tutorial.

I love a good piñata, but the thought of making them from scratch seemed a bit daunting and time consuming, especially for something that would be torn apart. That's when it hit me- faux piñatas! All the cuteness and fun of a piñata, made in half th…

You will need:

Papier mache boxes
Crepe streamers
Gold streamer
Candy
Scissors
Hot glue gun
 

Step 1: Take your crepe paper and measure around the perimeter of the piñata base. Add a teensy bit of extra length and cut.

I love a good piñata, but the thought of making them from scratch seemed a bit daunting and time consuming, especially for something that would be torn apart. That's when it hit me- faux piñatas! All the cuteness and fun of a piñata, made in half th…

Step 2: Fold your length of crepe paper in fours so that it's compact. Put the crepe paper against the lid rim and cut at the width of the rim. Save the wider section- you'll be using it for the bottom. Do this for all the colors to mix and match, or keep it the same for consistency.

I love a good piñata, but the thought of making them from scratch seemed a bit daunting and time consuming, especially for something that would be torn apart. That's when it hit me- faux piñatas! All the cuteness and fun of a piñata, made in half th…

Step 3: Wrap the lid in the narrow section, putting glue every few inches as you work so the glue stays hot.

I love a good piñata, but the thought of making them from scratch seemed a bit daunting and time consuming, especially for something that would be torn apart. That's when it hit me- faux piñatas! All the cuteness and fun of a piñata, made in half th…

Step 4: Wrap the bottom of the pumpkin with the wider section from before. Glue every few inches to secure it.

I love a good piñata, but the thought of making them from scratch seemed a bit daunting and time consuming, especially for something that would be torn apart. That's when it hit me- faux piñatas! All the cuteness and fun of a piñata, made in half th…

Step 5: Now that the perimeter of your pumpkin is wrapped, you can start the piñata part at the top! Cut a length of crepe paper, and fold it so it's narrow. Cut in half width-wise. 

I love a good piñata, but the thought of making them from scratch seemed a bit daunting and time consuming, especially for something that would be torn apart. That's when it hit me- faux piñatas! All the cuteness and fun of a piñata, made in half th…

Step 6: Take your folded crepe paper and cut slits close together to make the pinata fringe.

I love a good piñata, but the thought of making them from scratch seemed a bit daunting and time consuming, especially for something that would be torn apart. That's when it hit me- faux piñatas! All the cuteness and fun of a piñata, made in half th…

Step 7: Starting at the bottom, glue the fringe onto the top of the lid. Continue all the way to the top.

I love a good piñata, but the thought of making them from scratch seemed a bit daunting and time consuming, especially for something that would be torn apart. That's when it hit me- faux piñatas! All the cuteness and fun of a piñata, made in half th…

Step 8: Trim the excess from the sides of the lid. 

I love a good piñata, but the thought of making them from scratch seemed a bit daunting and time consuming, especially for something that would be torn apart. That's when it hit me- faux piñatas! All the cuteness and fun of a piñata, made in half th…

Step 9: Fill with candy. Finito!

I love a good piñata, but the thought of making them from scratch seemed a bit daunting and time consuming, especially for something that would be torn apart. That's when it hit me- faux piñatas! All the cuteness and fun of a piñata, made in half th…

Don't forget to make some teal pumpkins as well to support this great cause!

I love a good piñata, but the thought of making them from scratch seemed a bit daunting and time consuming, especially for something that would be torn apart. That's when it hit me- faux piñatas! All the cuteness and fun of a piñata, made in half th…

How cute are these? I think they would make great seat markers at your place settings or nice favors for your party guests. What do you think of faux piñatas? Better than the real thing?! Let me know in the comments!

DIY Snowcone Party Hats

I know what you're thinking- party hats are for little kid's parties! I have many memories of wearing hats with a lame design that matched all the plates and napkins. And they never looked good. However, this isn't a regular hat- it's a cool hat! You can create these in complimentary colors to tie into your theme without being matchy-matchy, preventing the super cheeseball effect. They're cheap and easy to make, and make really cute festive accessories. Plus, since you're adding the elastic yourself, you don't have to worry about it choking you and creating a double chin! Double win! Well, have I convinced ya? Check out the easy how-to below.

This isn't a regular hat- it's a cool hat! They're cheap and easy to make, and make really cute festive accessories. Click to check out the easy how-to!

You will need:

Snow cone cups (I got mine from Michaels)
Pom poms
Glue gun
Elastic cord (optional)

This isn't a regular hat- it's a cool hat! They're cheap and easy to make, and make really cute festive accessories. Click to check out the easy how-to!

For this project, all you need to do is glue the Pom Pom onto the snow cone. Easy peasy! If you're planning on wearing them, create a small hole on each side and pull a piece of elastic through an tie a knot.

This isn't a regular hat- it's a cool hat! They're cheap and easy to make, and make really cute festive accessories. Click to check out the easy how-to!

These are so cheap and quick to make that you can easily create a set for a party. And the bonus? They're SUPER cute!

This isn't a regular hat- it's a cool hat! They're cheap and easy to make, and make really cute festive accessories. Click to check out the easy how-to!

Try placing a hat on each place setting to dress up the dinner table, or scatter them around the room to ensure everyone sees them. Or, even better, welcome each guest into your party by letting them pick their favorite! How do you plan on using these party hats? Let me know in the comments below! 

10 Tips to Start Planning Your Halloween Party

Happy Friday party peeps! Can you believe there are only 24 days left until Halloween?! This gives you juuuuust enough time to start planning your party. Grab a mug of hot apple cider and check out these 10 tips to start planning a spook-tacular Halloween party!

Can you believe it’s almost Halloween?! This gives you juuuuust enough time to start planning your party. Unsure where to start? Check out these 10 tips to start planning a spook-tacular Halloween party! #halloween #halloweenparty #partyplanning

1. Check out some party inspiration to get yourself into the spirit.

2. Peruse the stores for decorations and party supplies that will haunt your guests for years to come.

3. Plan out your costume and show everyone how punny you are.

4. Look up recipes that are sure to be a scream.

5. Brew up some cocktails for your best witches.

6. Plan out the guest list and send some cute invites.

7. Create a spooky playlist and get ready to do the Monster Mash.

8. Collect your candy without having to go door to door.

9. Create costume contest awards that are to die for.

10. Get your pets ready for a frighteningly good time.

Which part of Halloween is your favorite? Let me know in the comments!